Everyone has a different idea of what “comfort food” is. While the concept of a meal that makes you feel all warm and fuzzy inside is universal, one person’s mac and cheese may not be another person’s chicken noodle soup. I can definitely boast a few different comfort foods of mine, and they tend to be seasonal. Mac and cheese tends to transcend seasons, while homemade apple pie makes me feel wonderful come autumn. When the summer heat bears down on New York, I have my perpetual comfort food dish to get me through: Cucumber Salad with Garlic-Dill Yogurt Sauce. There are too many pros to this dish:
– It’s chock full of cucumber. (It’s not just a cleaver recipe name…) Crisp, refreshing, and full of water.

– The yogurt (I use Greek or skyr) gives you a good dose of probiotics.

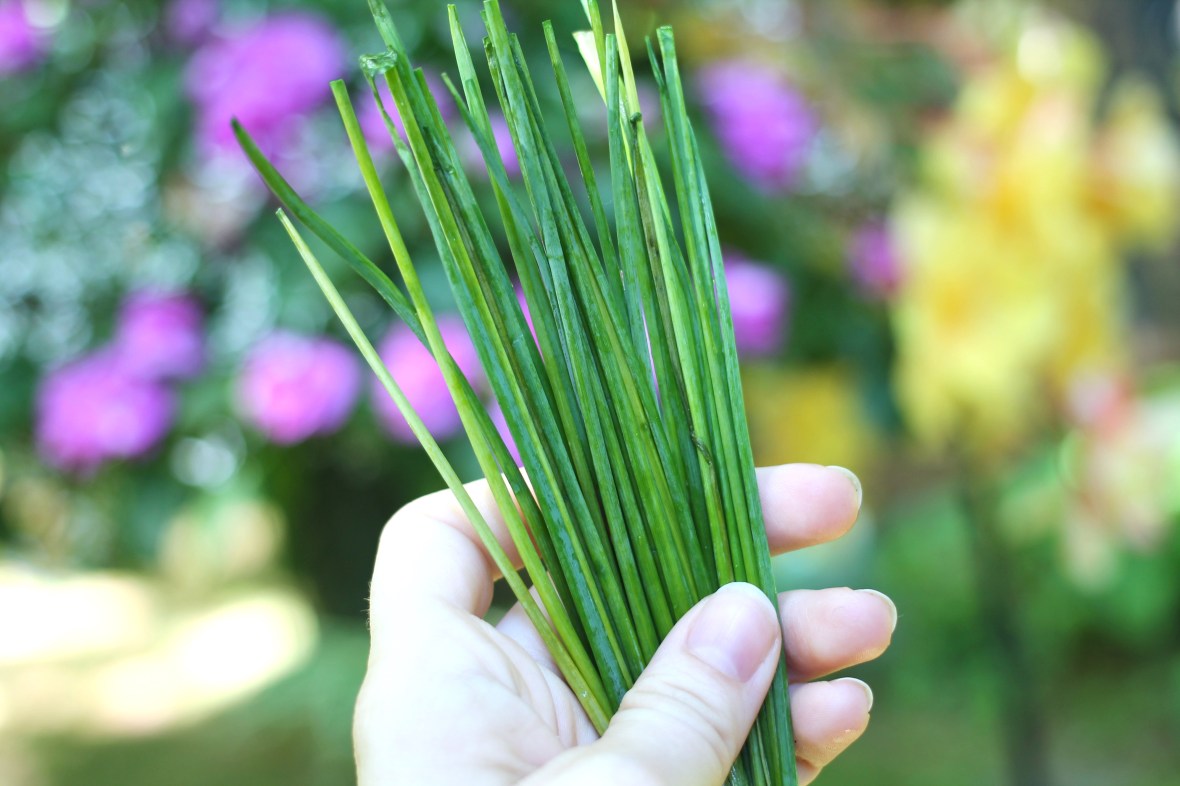
– It’s an excuse to stock up on fresh dill at the farmers’ market.

– No oven needed! (My fellow New Yorkers will surely feel me on that point.)

I make this dinner for myself multiple times a week, usually supplemented by fruit, additional vegetables, or, 9 times out of 10, a giant hunk of Cabot cheddar cheese.
I always say I’m going to cut back on my dairy. Now is not the time. Ha!
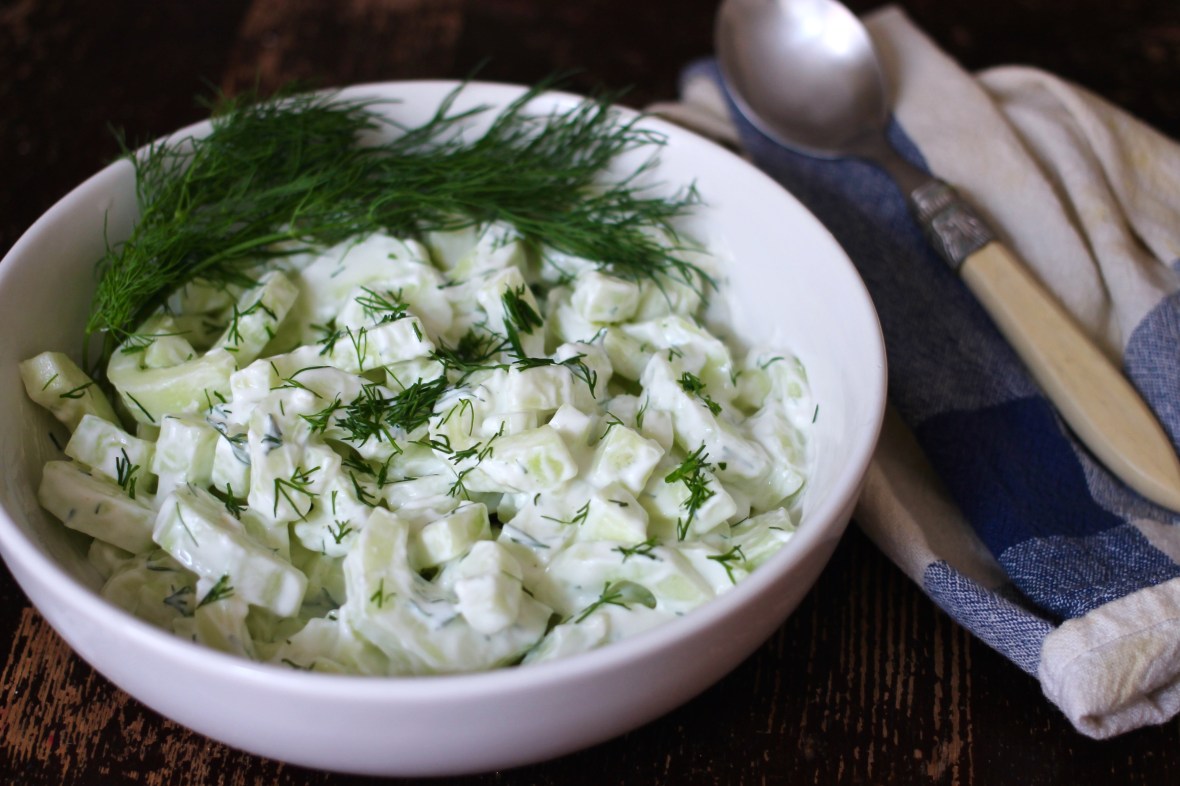
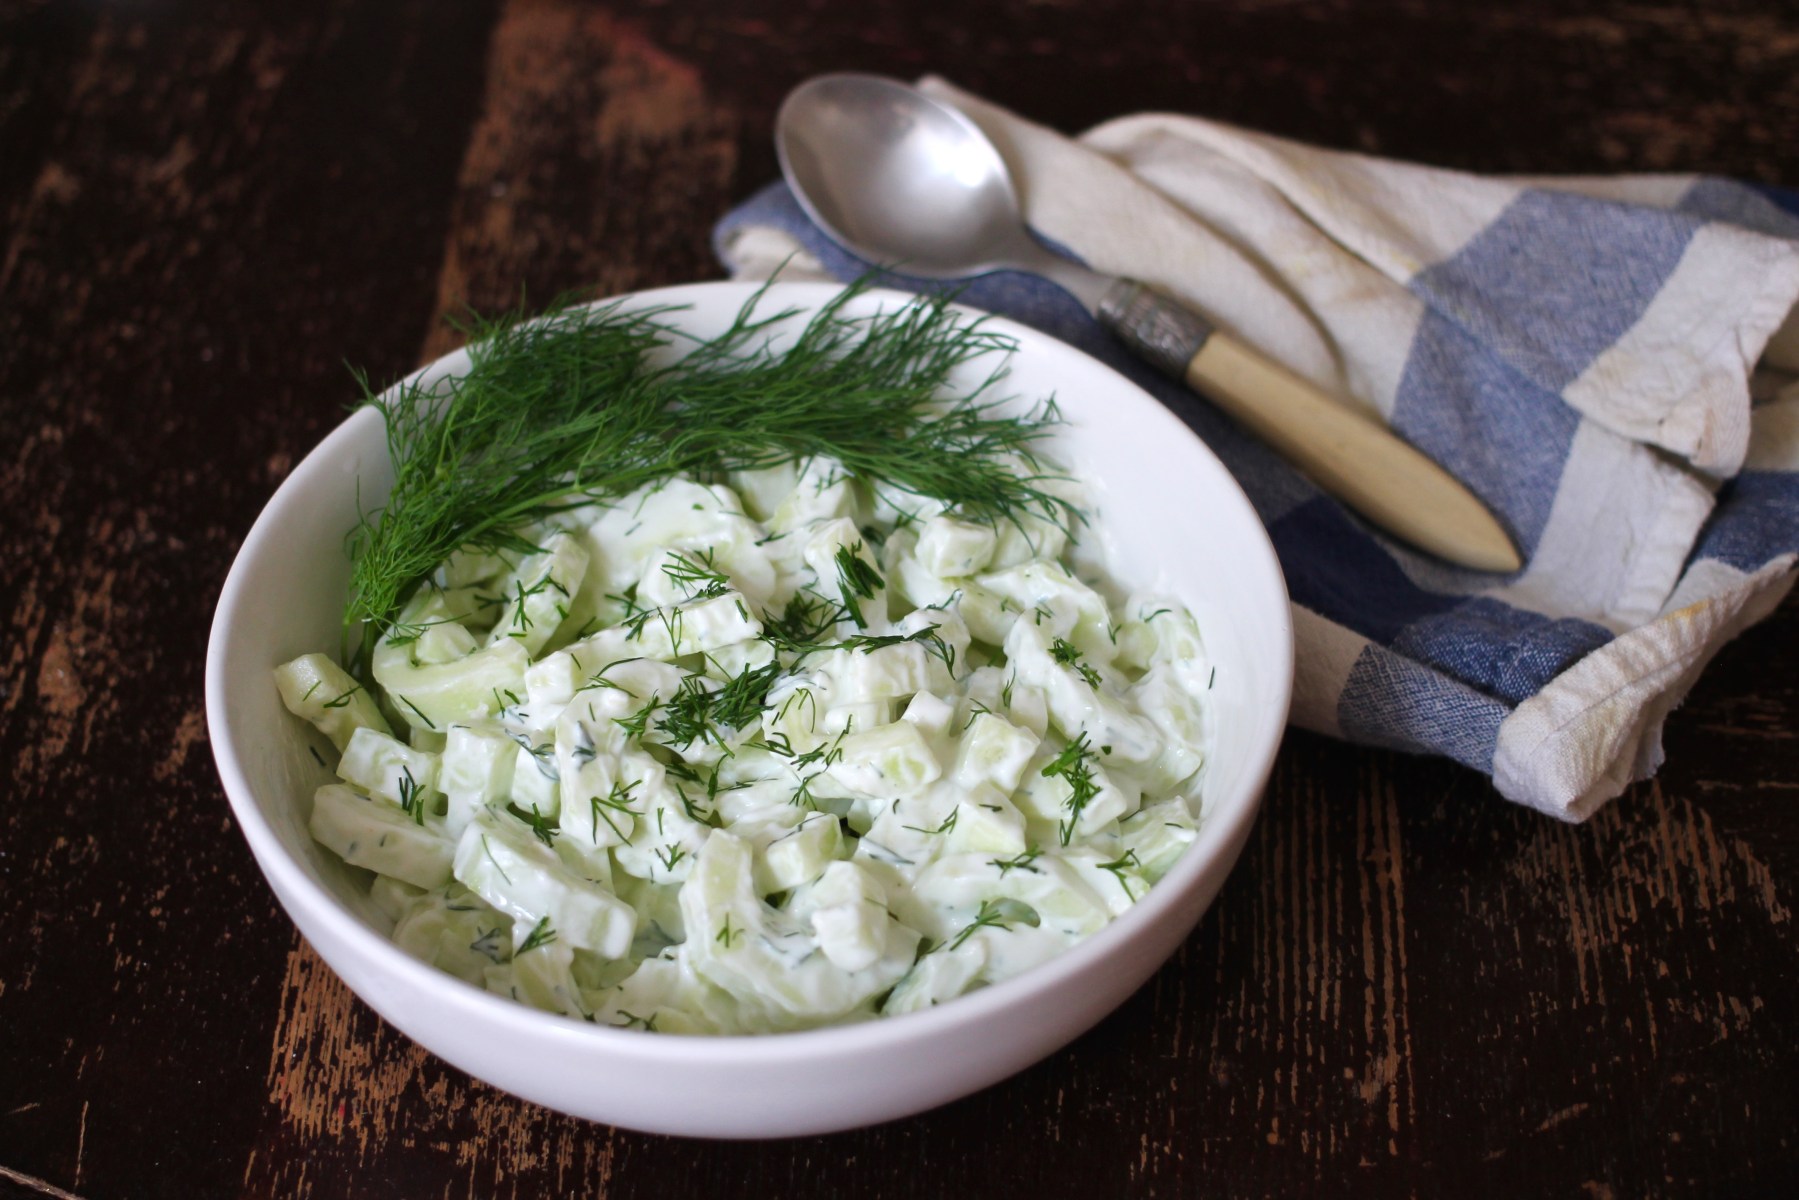
Cucumber Salad with Garlic-Dill Yogurt Sauce
(Serves 1 – 3; 1 as a large salad or up to 3 as a side)
Ingredients:
– 2 large cucumbers, peeled, seeded, and chopped
– 6 ounces Greek yogurt or skyr, plain
– 1 tablespoon olive oil
– 1 clove garlic, finely minced
– 1 teaspoon garlic powder
– 1 teaspoon fresh dill, finely chopped or 1/2 teaspoon dried dill
– Salt, to taste
Before We Get Started…
– To keep recipe dairy-free, substitute non-dairy yogurt; I would not recommend coconut milk yogurt (I can still taste the coconut!), but a soy-based non-dairy yogurt, such as Silk. On Silk’s web site, they say they can not claim their yogurt to be straight-up vegan, so I’ll leave y’all to be the judge of that if making this recipe.
Directions:
1.) Peel, seed, and chop / slice cucumbers. Set aside.
2.) In a large bowl, mix yogurt, olive oil, garlic, garlic powder, dill, and salt until completely combined. Add cucumber and toss until cucumbers are completely coated. Place in refrigerator for 30 minutes to chill. Served chilled.