PDA Pizza – Dine-In Or DIY!
Sometimes you feel like a nut, sometimes you don’t. Sometimes you feel like making your own pizza, sometimes you don’t. (Why do I feel like eating a Mounds Bar right now, and why do I think no one born after 1995 will understand this reference?)
I love to dine out and I am also hands on in the kitchen, so I am overjoyed that I was able to see both sides of PDA Pizza. Fully known as Public Display of Affection, this pizza shop – founded by Rob & Emi Guimond – opened near the Union Street R Train station on March 13th 2020, just when the world was getting a little crazy. Despite many pandemic-related restaurants closing in the past three years, PDA Pizza didn’t just stay afloat, they thrived! In addition to their original location on the Park Slope / Gowanas border, they also have a stellar slice shop located inside of The Hugh in Midtown East, a food hall with elevated offerings for us busy corporate folks. (Though I work remotely, I visit my midtown office a few days a month, so count me as one.) In addition, the slice shop also hosts a pizza-making class if you’ve ever wanted to try your hand at creating something that isn’t just a Boboli crust with shredded Kraft mozzerella + Prego pizza sauce. (Say you grew up in the 90s without saying you grew up in the 90s…)
Follow along as I discuss both experiences!
PDA Pizza: Dine-In
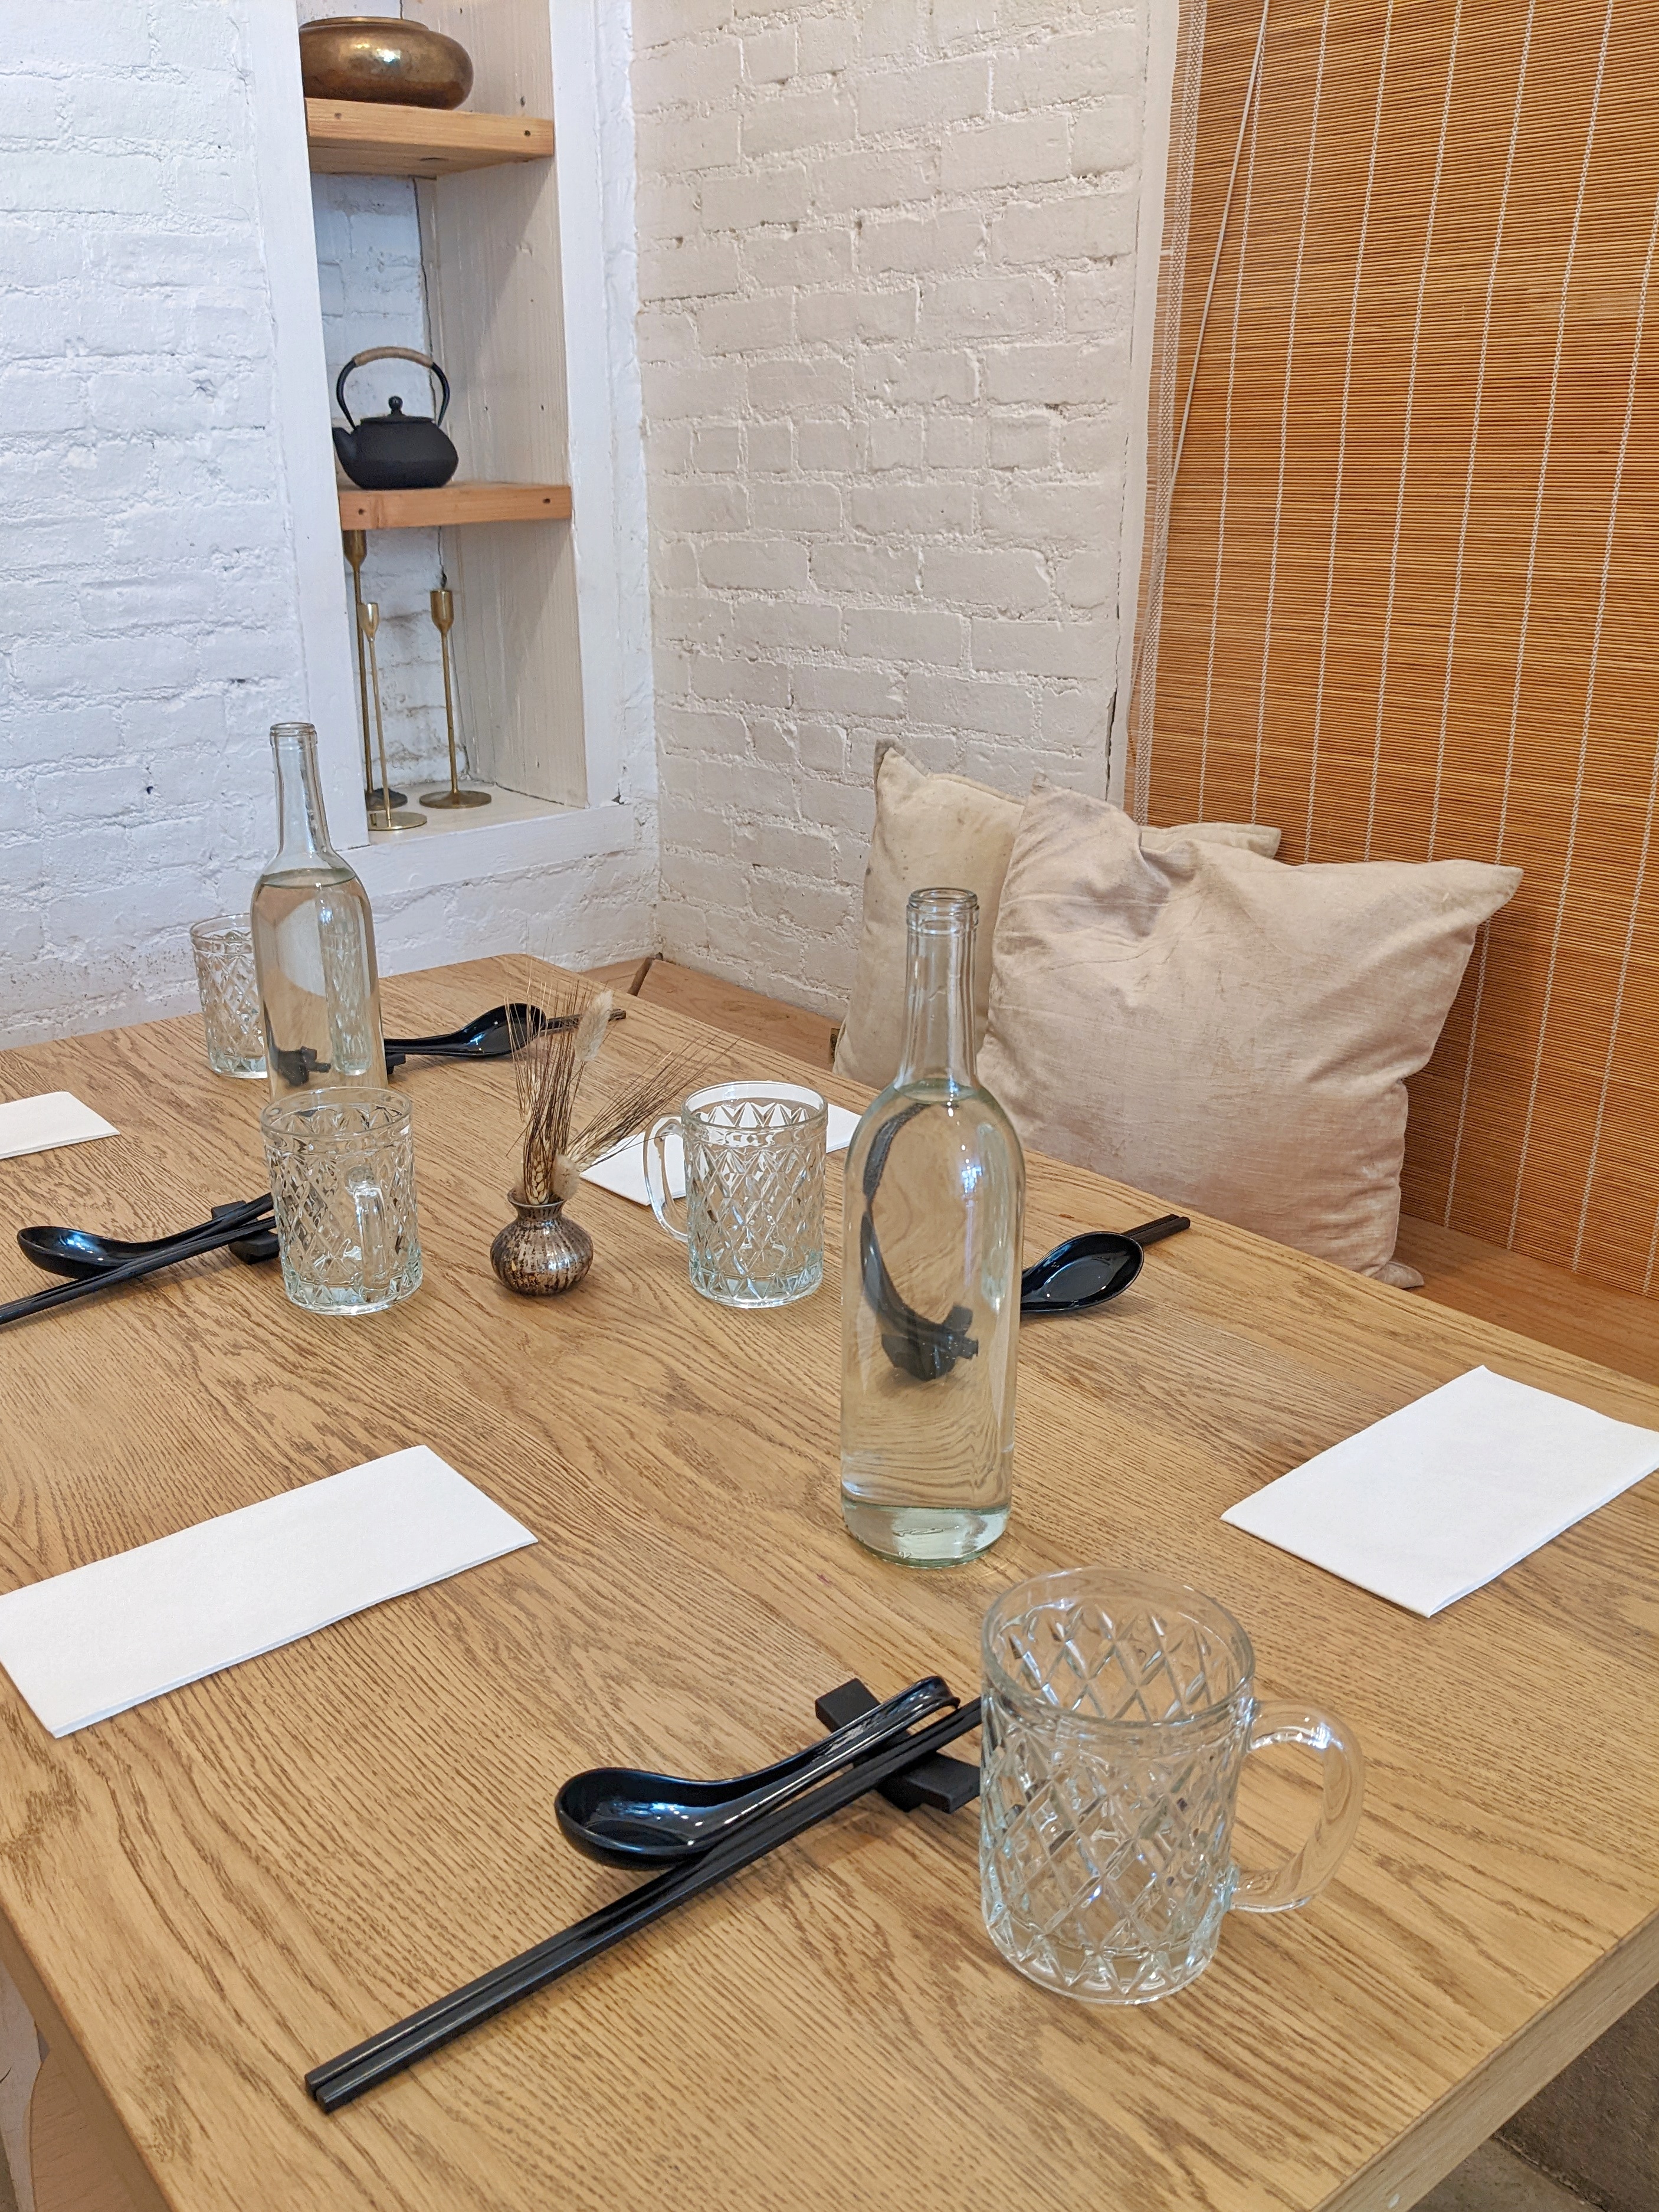
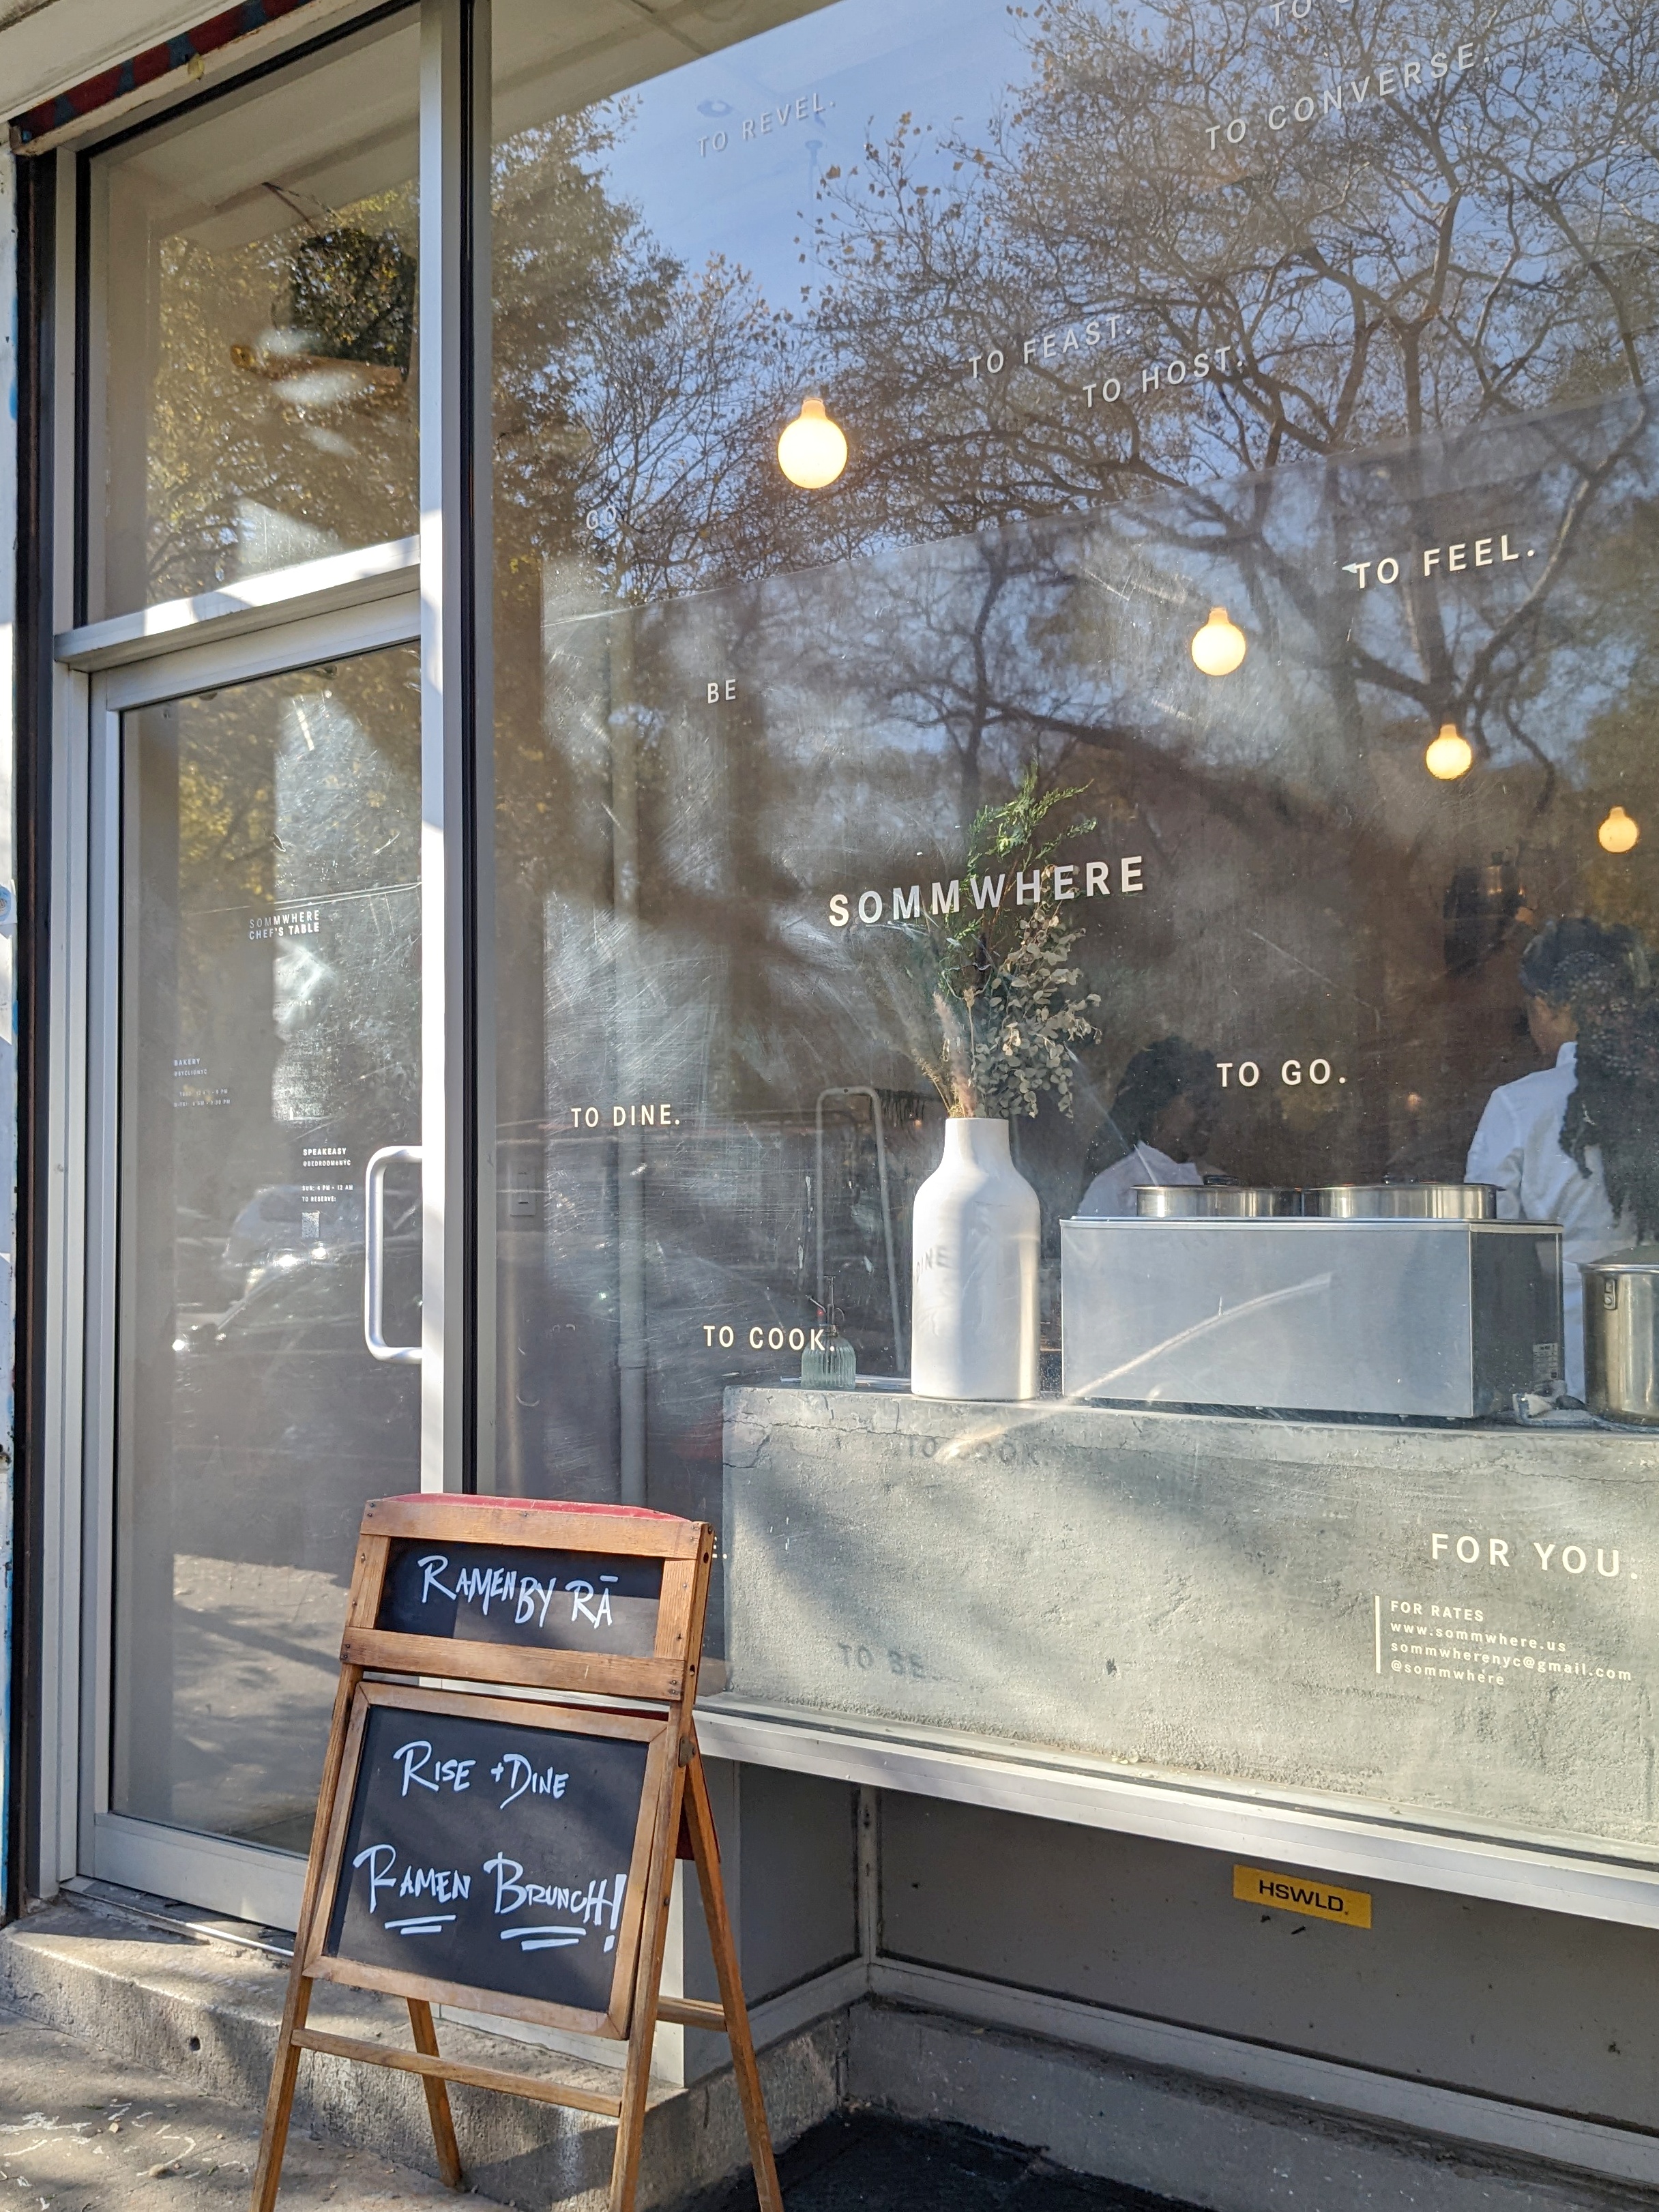
PDA Pizza’s Brooklyn is a surprisingly quiet location tucked a few storefronts east of 4th Avenue. The interior is incredibly cozy and its spacious outdoor section pumps music that will repeatedly make you stop and say, “Hey, I love this song!”
In late May 2023, I visited with my friend Erin, a.k.a. @evertheepicure – we first met during the unmatched wild Yelp Elite NYC era of the early to mid-2010s and still share a common bond for stellar food and cocktails. She told me how she lived right next to PDA Pizza when it opened; she was a frequent customer in the early months of the pandemic. Needless to say, sitting outside enjoying a leisurely brunch definitely reigns supreme to an indoor pandemic pie.
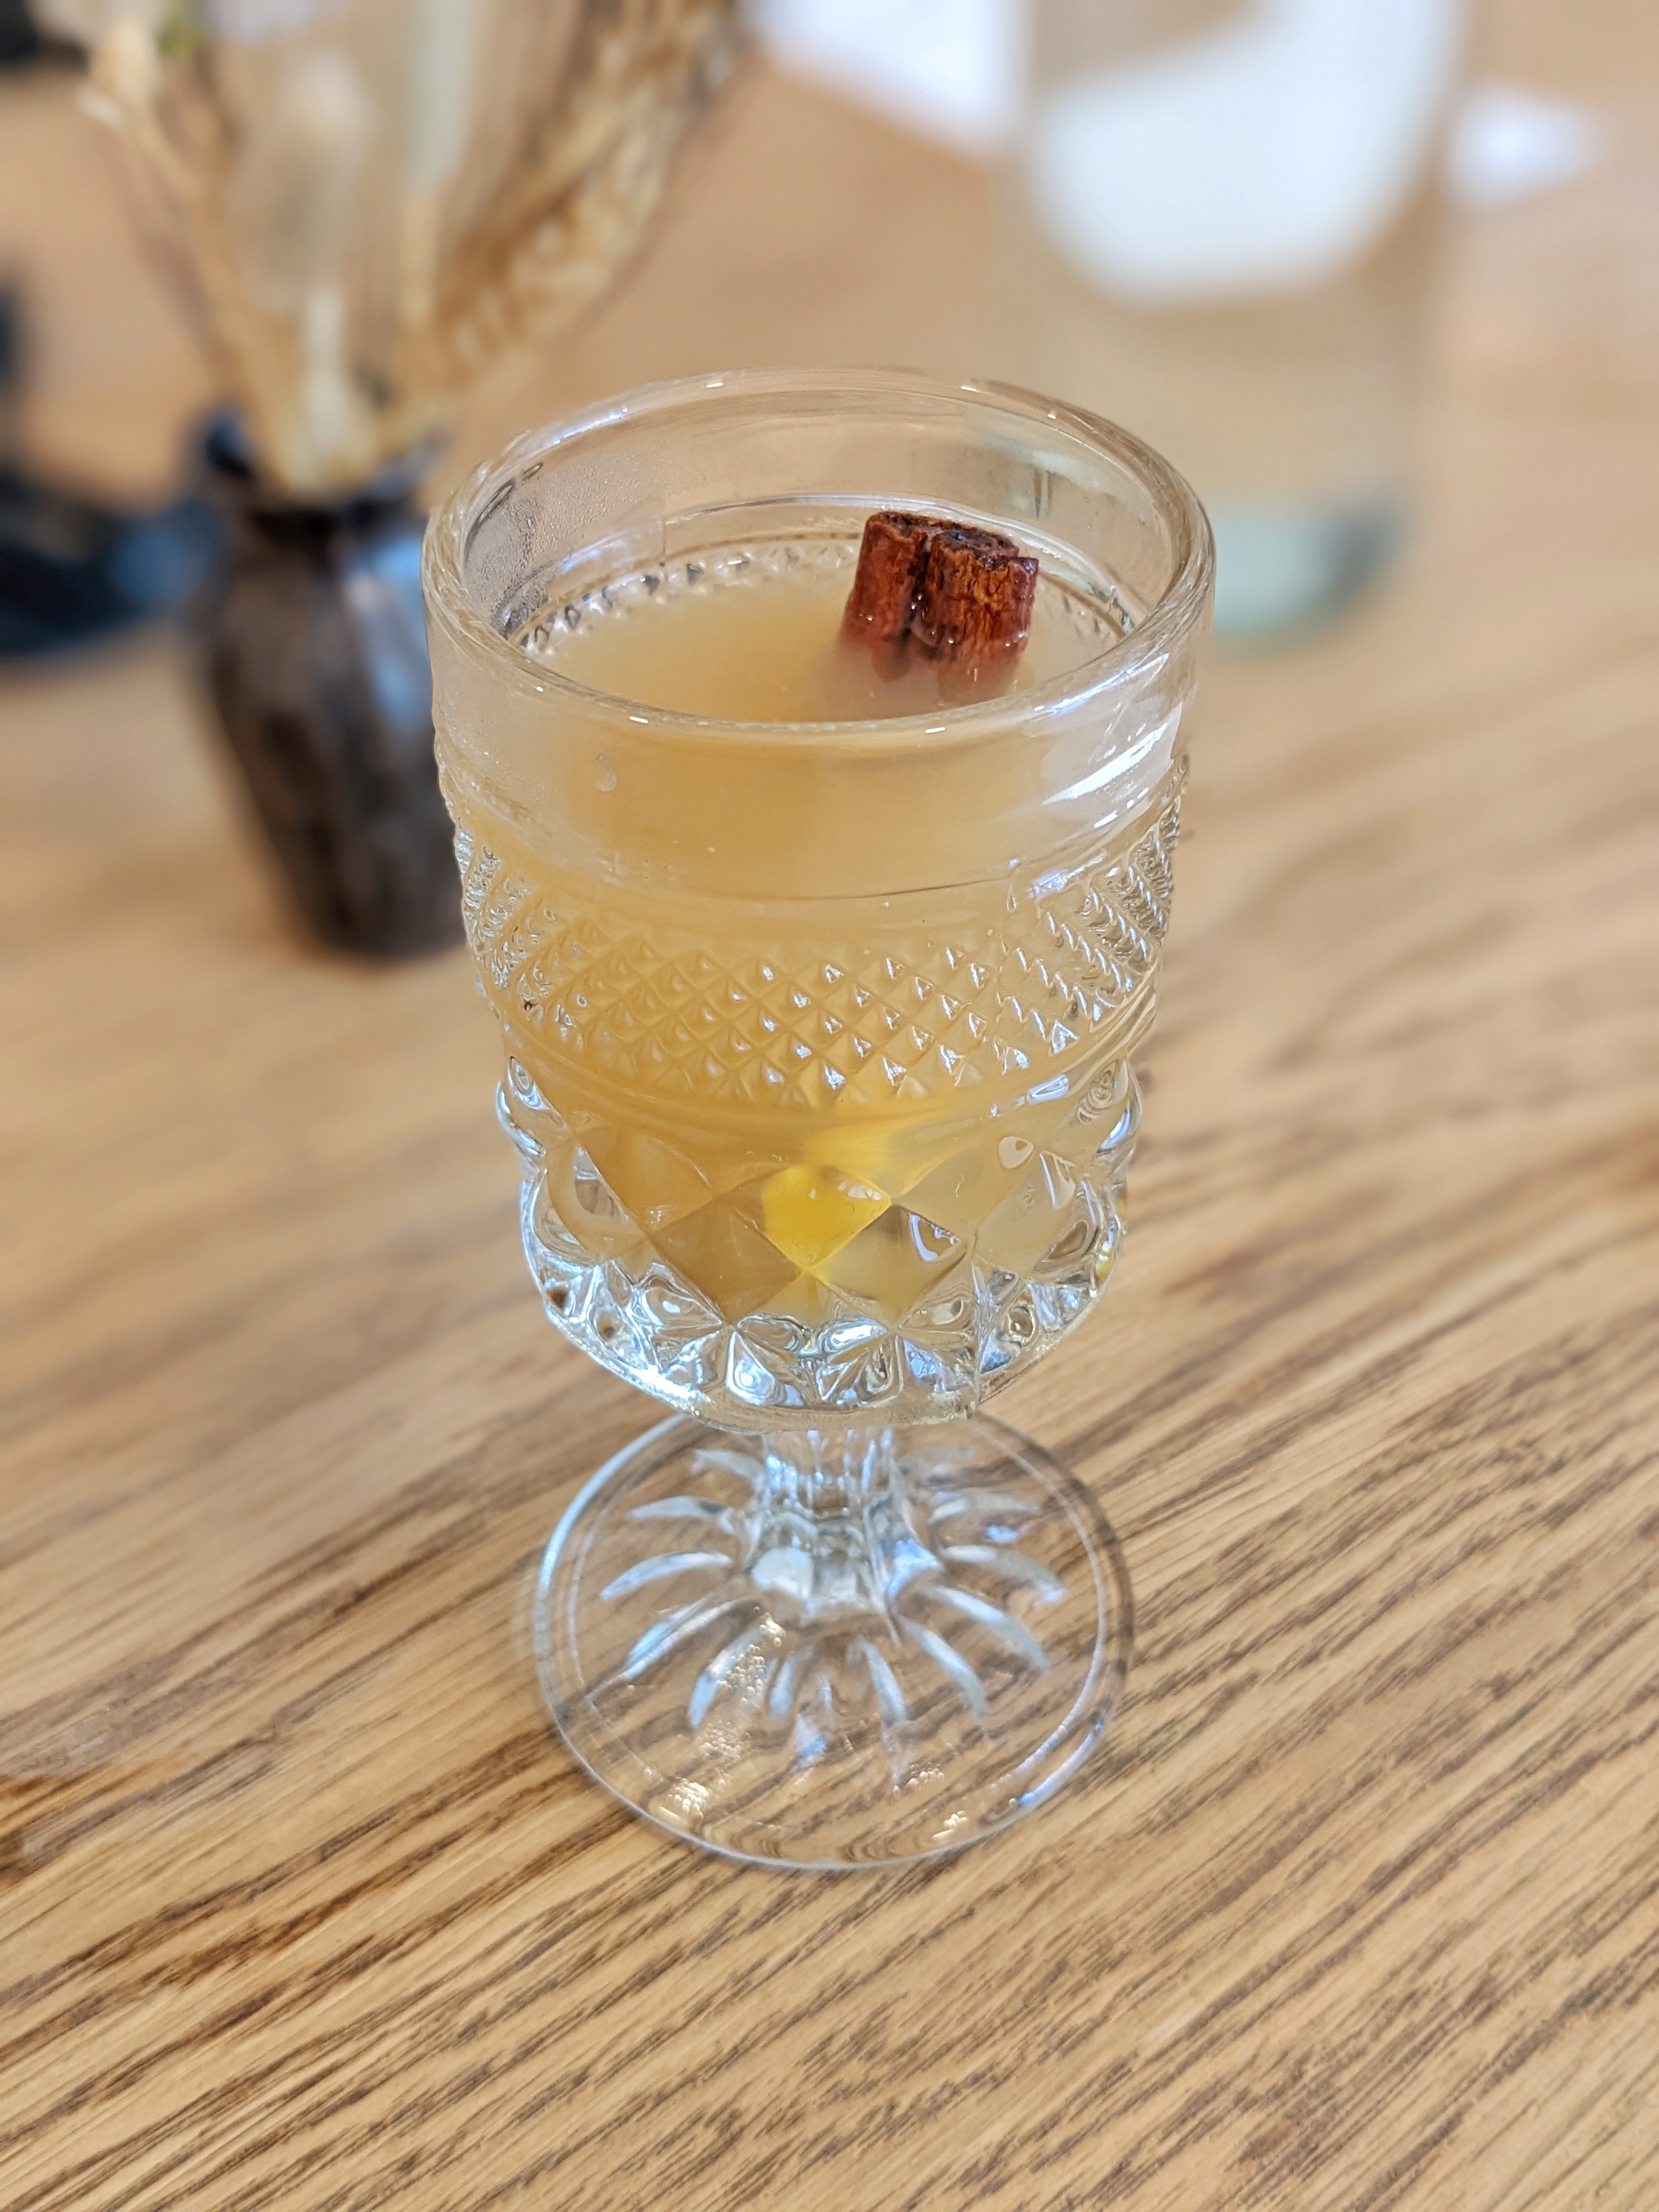
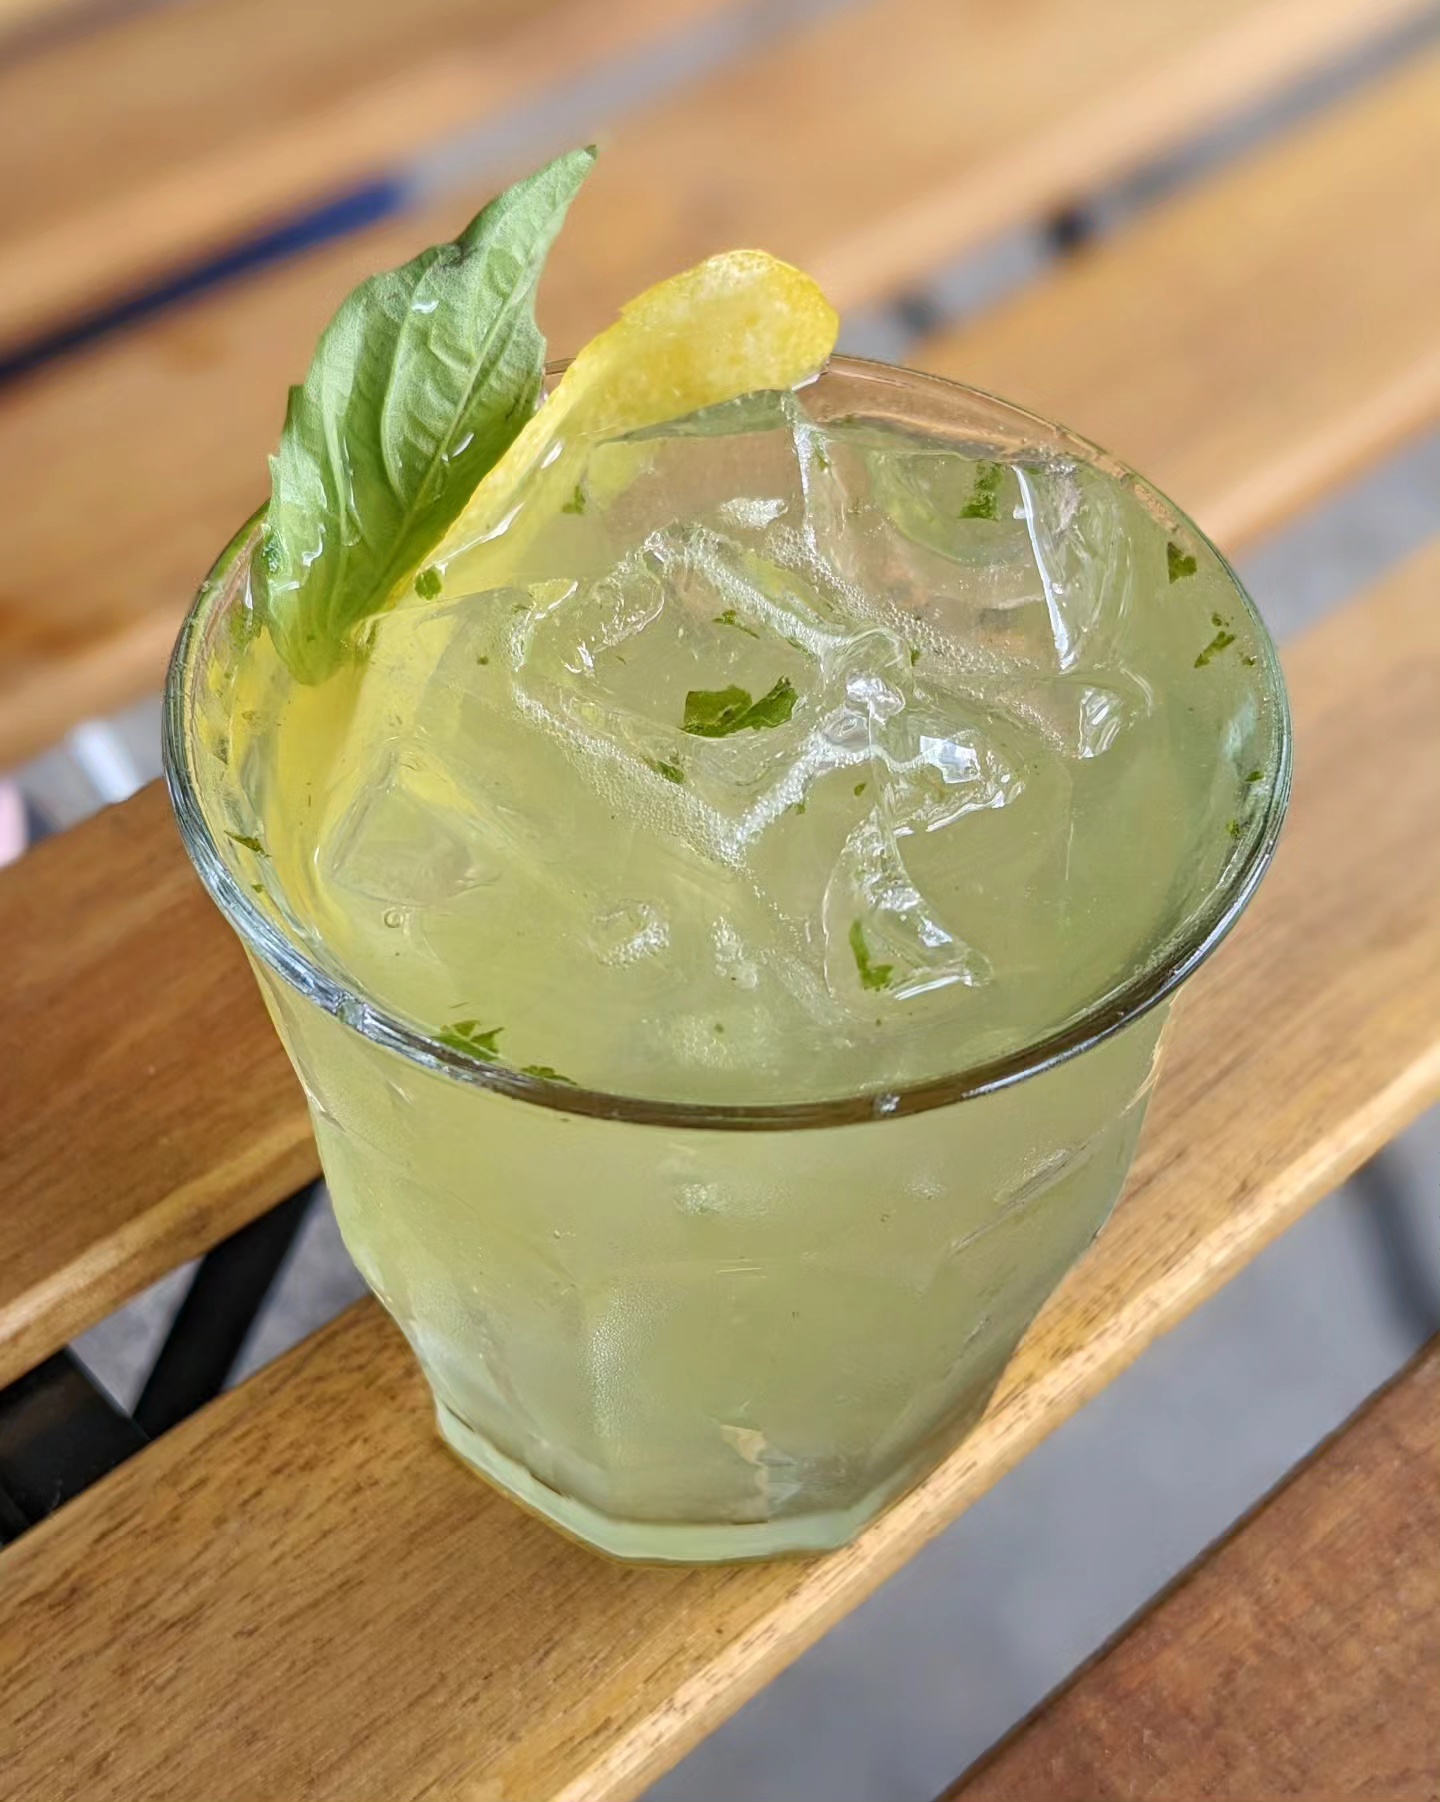
To start, we had our requisite brunch cocktails. I ordered Edmond’s Walking Potion, a light herbaceous mix of pineapple amaro, basil, and gin. Erin went for the Chef’s Kiss, a little punchier with hibiscus, raspberry, mint, lemon, and vodka. Their overall cocktails selection is fantastic and it was hard not to choose a few more, though two others that caught my eye for a future visit would be the Bourbon & Bubbles – quite literally bourbon & Prosecco – and the delightfully-named Something Fruity but Not Too Sweet, crafted with tequila and grapefruit. I appreciate a cocktail name that is boldly self-aware, me being the person that has often asked for this type of cocktail. Guilty as charged, please knock me down a peg, ha!

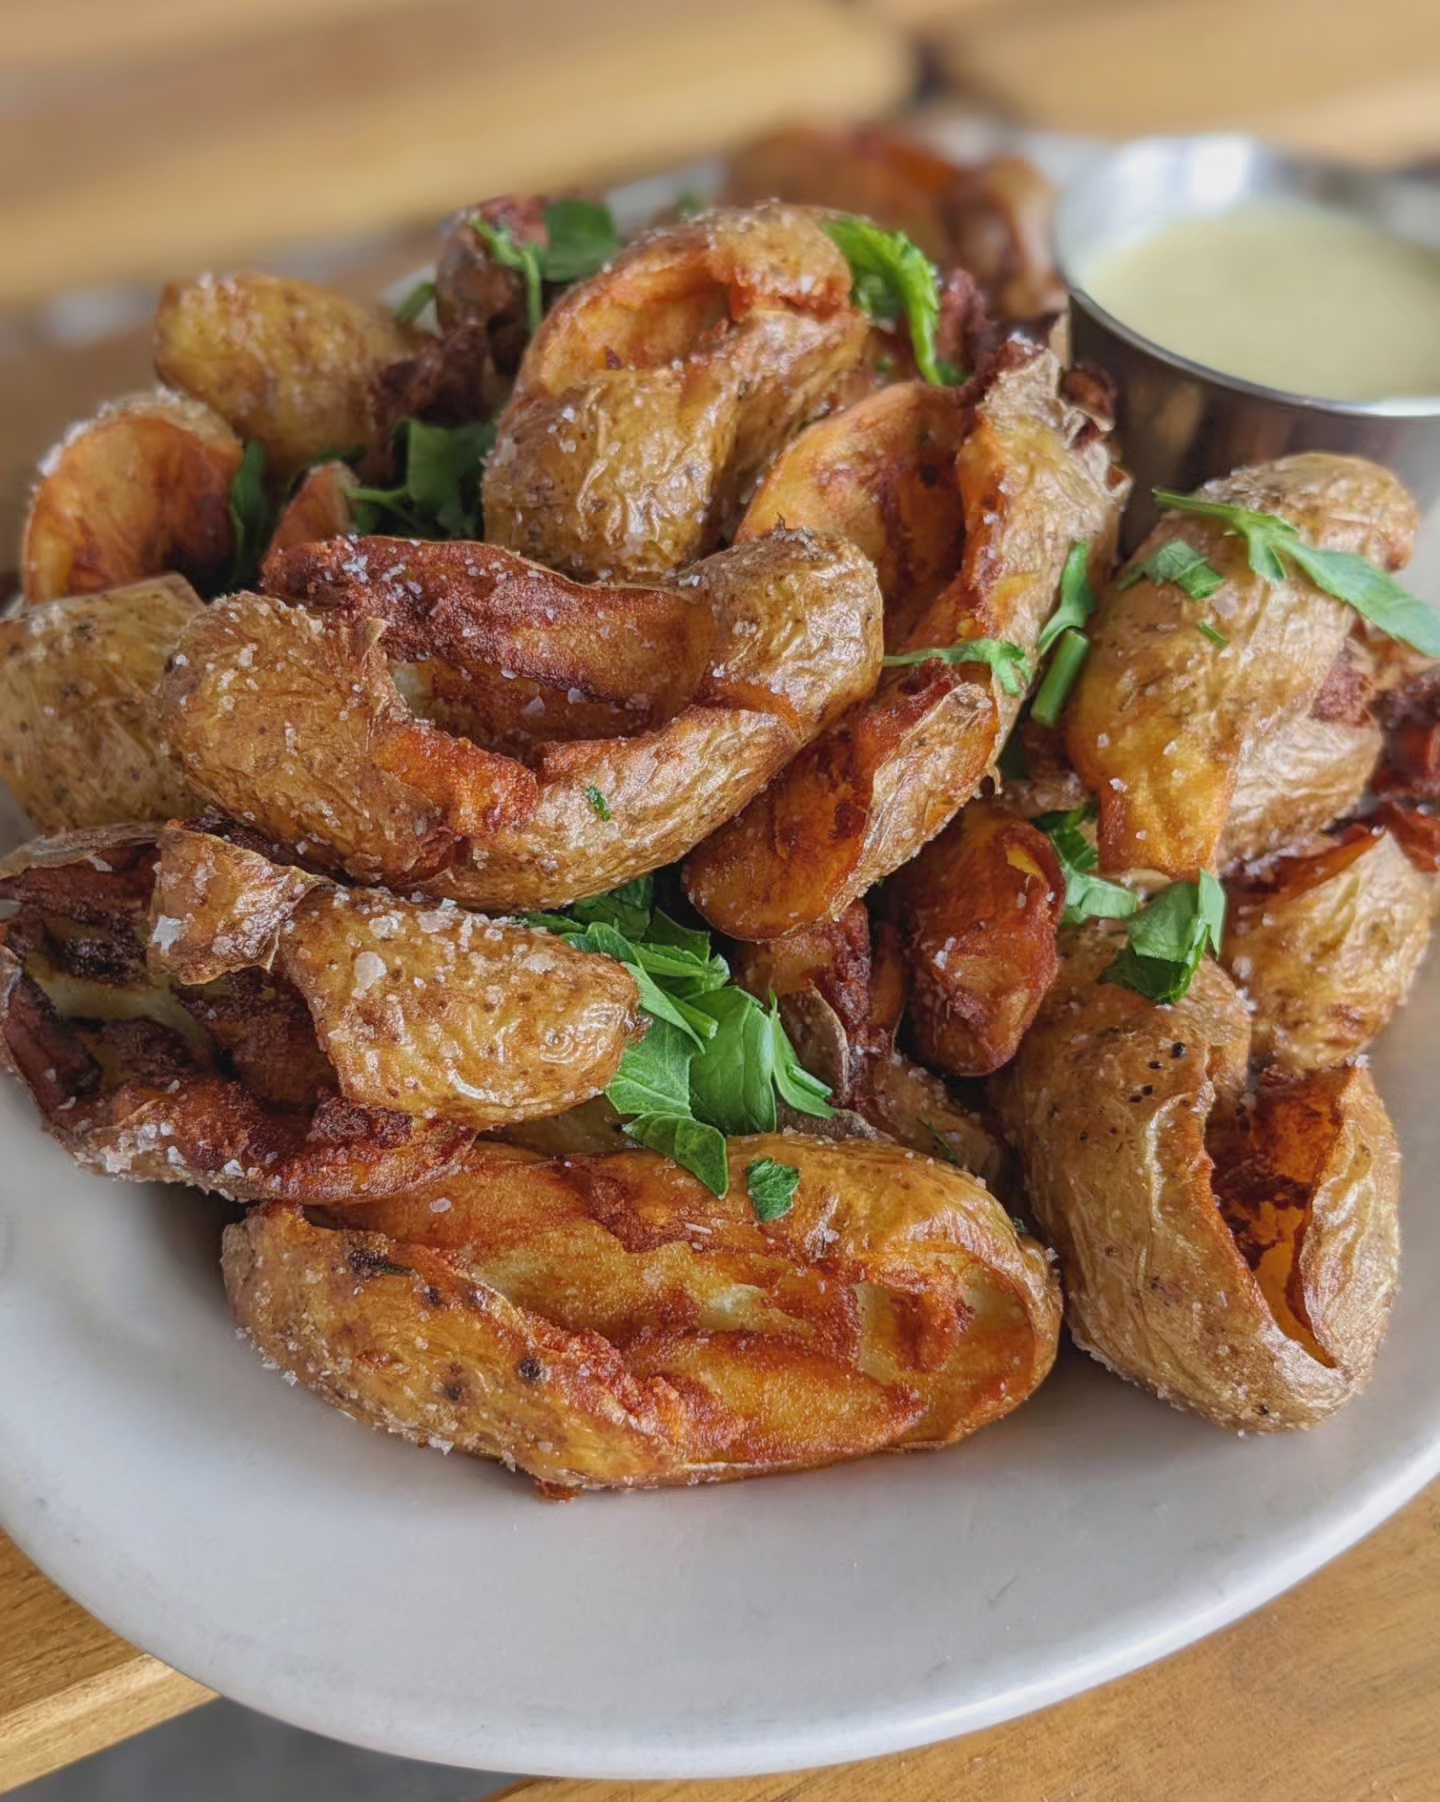
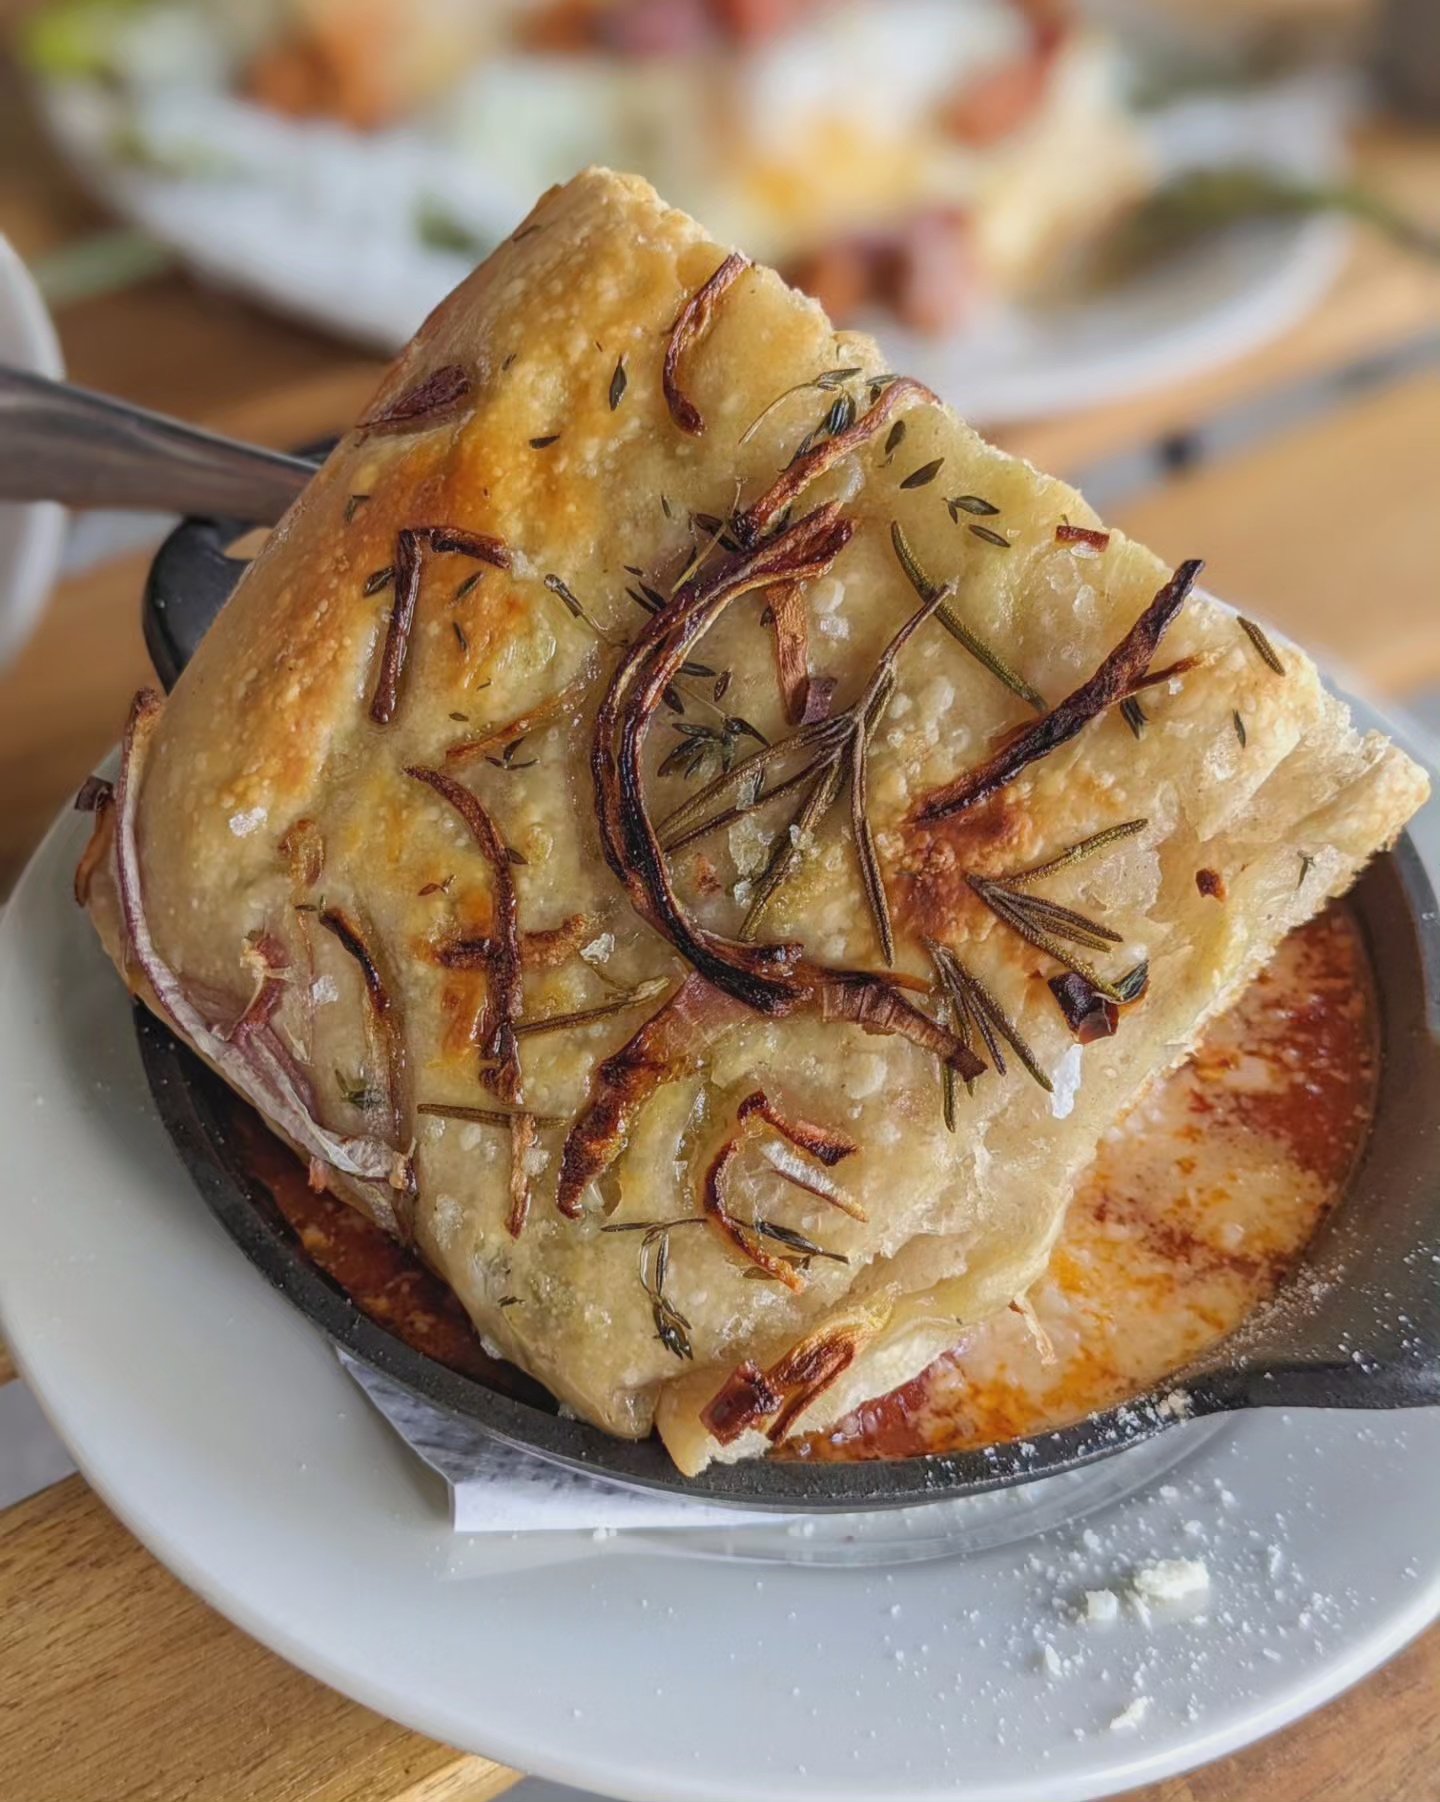
Moving onto appetizers & sides, we decided to go full-on savory. No brunch is complete without potatoes, so the fried fingerling potatoes – garnished with fresh parsely and served with an addictive siddiqui sauce – satisfied that craving. If looking for something more vegetable-forward yet still indulgent, I’d recommend the roasted asparagus with a sunnyside egg, coarse breadcrumbs, and bacon; this was my favorite dish and would serve well as a light meal on its own. Finally, we could not resist the call of the meatballs, made with beef & lamb and served in red sauce with the thickest piece of allium-forward foccacia I’ve ever had; this alone would also make for a solid meal!

Finally, the pizza: PDA Pizza has a solid menu of both classic and brunch-inspired choices, the latter being their Ham & Cheese Pizza with American cheese, mortadella, and eggs. However, something can be said for the classics, which PDA Pizza demonstrates beautifully with their cheese pizza: red sauce, house mozzarella, basil, oregano, and pecorino on a perfectly-crisped crust brings it all home.

PDA Pizza: DIY
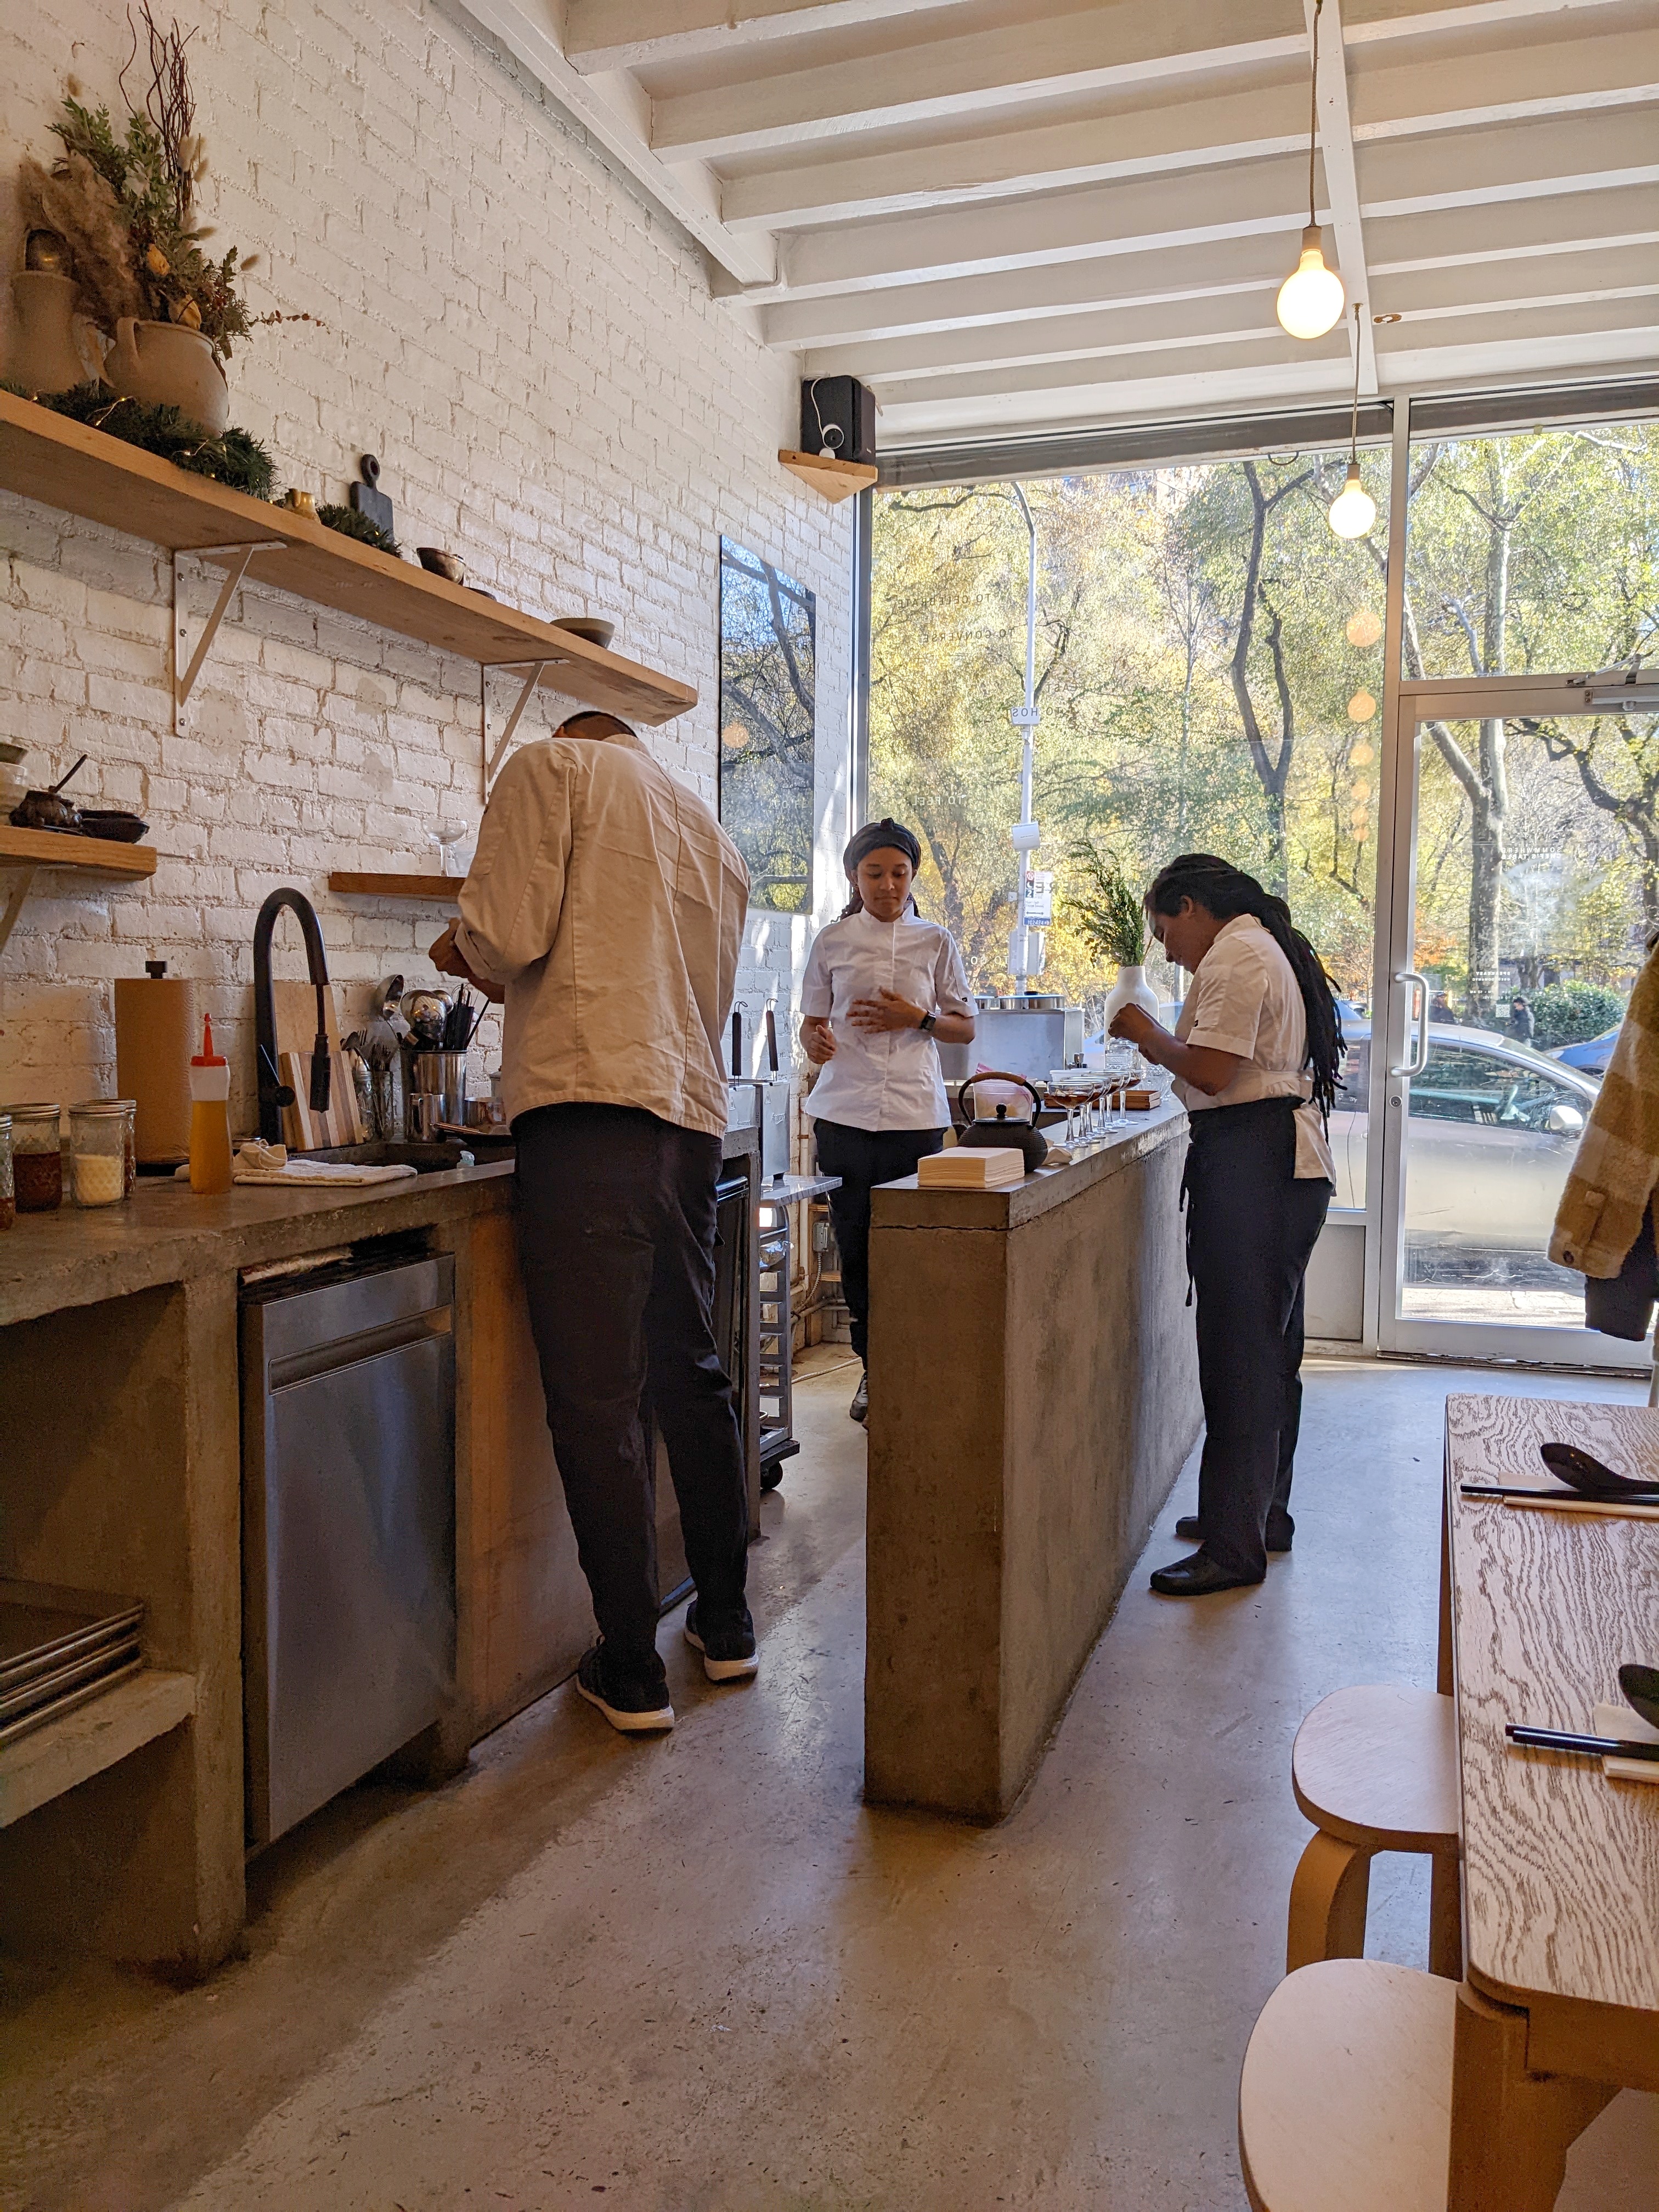
For those that want a fun weeknight activity, whether you are a wiz in the kitchen or not, PDA Pizza offers a comprehensive pizza class, currently offered weekly on Thursdays from 7 – 9 p.m. (as of this posting). For the cost of a ticket, all participants recieve and introduction to PDA Pizza and its backstory, insight into the process behind their dough creation, the opportunity to practice dough stretching, a sit-down hands-on section to make their own dough to take home, and a visit to the kitchen to prep a pizza with the toppings of their choice.
This is two hours that just flies by, largely in part to Shah, the well-versed and personable teacher of all things PDA Pizza! He made the class enjoyable and the process approachable.
For those of you looking for an indoor activity to do that is relatively COVID-safe, this is a great option. I did this class masked and still had a great time, especially since I could take my dough and pizza home with me after the class concluded.
Pro tip: Do not wear black or dark colors, because the flour is hard to escape during this class. I learned that the hard way. *phew*


How Do I get to PDA Pizza in Brooklyn?
If you can get to the R Train, you can get to PDA Pizza. It is located at 669 Union Street.
How do I sign up for a PDA Pizza Pizza Making Class?
You can visit Explore Tock to sign up for a class. As of this posting, classes are offered weekly on Thursday evenings from 7 – 9 p.m., with a ticket costing $69. Outside food and drinks are not permitted, though soft drinks and alcoholic beverages can be purchased at the slice shop during the class.
Please Note: My visits to their Brooklyn location + their slice shop for their pizza making class were complementary, and 20% tips for service were provided. All opinions in this post are my own. Thank you to the folks at PDA Pizza for two excellent experiences!