I GOT A DONUT PAN FOR MY BIRTHDAY! LET THE DONUT BAKING BEGIN!

As I get older, it’s more about the quality and thoughtfulness of the gifts I receive, not the quantity or trendiness of it. As I just turned 32 two weeks ago (I know, I know, these old bones here), a few friends and family got me appreciated and lovely gifts. My parents got me a food garnishing tool kit. One of my aunts bought me some new work pants from Loft. Dione and Caitlin bought me, respectively, potent alcohol and luscious mac & cheese at The Milton on my birthday night. Adam, however, bought me a donut pan. I literally screamed and punched him in the arm when I saw it, I was so freakin’ happy!

golden milk baked donuts

I’ve wanted to jump into donut-making for a long time; the Internet is rife with amazing recipes. I’m the first to admit that, right now, I’m not about developing any original donut recipes, as I need to run through my personal list of donut recipes I’ve found around my favorite food blogs! One such recipe I’ve been dying to make are Giselle’s Vegan Baked Golden Milk Donuts from Diary of an ExSloth! I love turmeric. I really love making myself a hot cup of turmeric tea a few times a week in the colder months. As I woke up yesterday morning, the 80°F degree temperatures that enveloped Manhattan on Tuesday and Wednesday turned into a rain-soaked 48°F. (C’monnnn! Too stark, too fast, Mother Nature! Give us some time to adjust!) A chilly Saturday, indeed! I glanced at the donut pan on my counter, and I suddenly knew what my first batch of donuts would be.

golden milk baked donuts

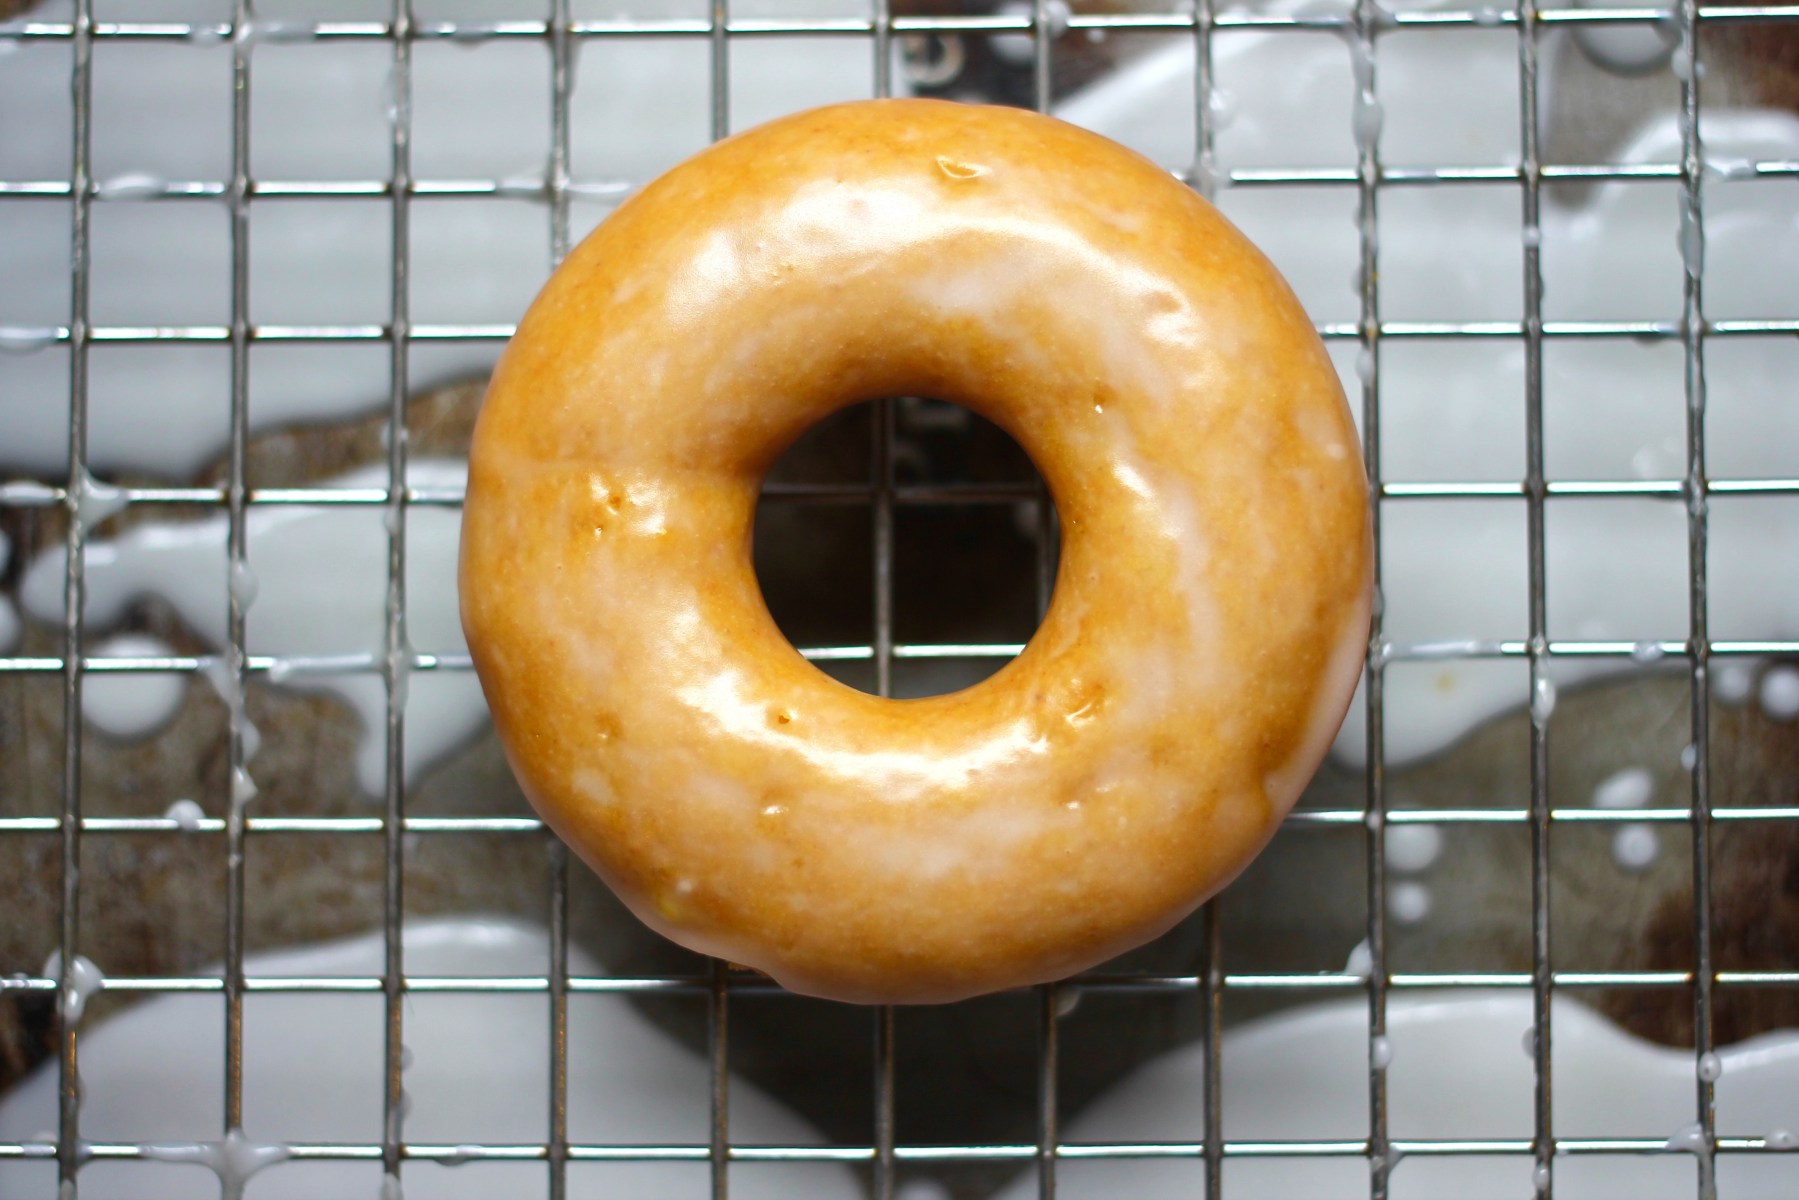
I worked with what I had and followed her recipe as closely to a T as the items in my pantry would allow. Ha! While her donut recipe is completely vegan, I am without flaxseed, so I used a plain ol’ egg. Also, I used all-purpose flour instead of spelt flour. I have a feeling these changes were fine, because I pulled some delicious, moist, springy baked donuts from my oven. Oh my! I had to restrain myself from not eating all six at once! I really wish I had the coconut cream to make the luscious frosting from her recipe (next time!), but you can’t go wrong with a simple glaze, conversely. Turmeric is a fairly polarizing flavor, and most people are used to it in savory dishes, not in a pastry or a dessert. In my opinion, it’s worth the exploration. The flavor of this donut is warm with the slightest bit of a citrus kick, thanks to the fresh-squeezed orange juice. I might even add some orange zest to my batter the next time I make these! Hmmmmmm…

golden milk baked donuts

Thanks for creating such an awesome donut recipe, Giselle! I’m currently bowing down to you, my mouth full of donuts.

golden milk baked donuts

Golden Milk Baked Donuts

(Adapted from Diary of an ExSloth’s recipe for Vegan Baked Golden Milk Donuts)
(Makes 6 Donuts)

Ingredients:

Donuts:

– 1 egg
– 1/4 cup unsweetened almond milk
– 1/2 tablespoon apple cider vinegar
– 1 tablespoon orange juice (preferably freshly squeezed)
– 1 cup flour, sifted
– 2 teaspoons baking powder
– 1/2 teaspoon cinnamon
– 1 teaspoon turmeric
– 1/4 teaspoon salt
– 2 tablespoons coconut oil, softened (not liquified)
– 1/3 cup agave nectar
– 1 teaspoon vanilla extract

Glaze:

– 2 cups confectioner’s sugar, sifted
– 3 tablespoons unsweetened almond milk
– 1 teaspoon vanilla extract

Before We Get Started…

– For a fully vegan-friendly recipe, use 1 tablespoon ground flax mixed with 3 tablespoons of water to make a “flax egg”, per the original recipe (link below recipe title).

– If you do not have almond milk or another plant-based milk, dairy milk can be used in both the batter and the glaze.

Directions:

1.) Preheat oven to 350°F. Lightly grease the inside of the donut pan’s cavities. Set aside.

2.) In a small bowl, whisk together almond milk, apple cider vinegar, and orange juice. Set aside; it is okay if it takes on a slightly curdled appearance!

3.) Sift flour into a large bowl. Whisk baking powder, salt, turmeric, and cinnamon into the flour until thoroughly combined.

4.) In another large bowl, whisk together egg and softened coconut oil. Slowly add in  agave while continuing to whisk. Pour in vanilla extract and whisk in until combined.

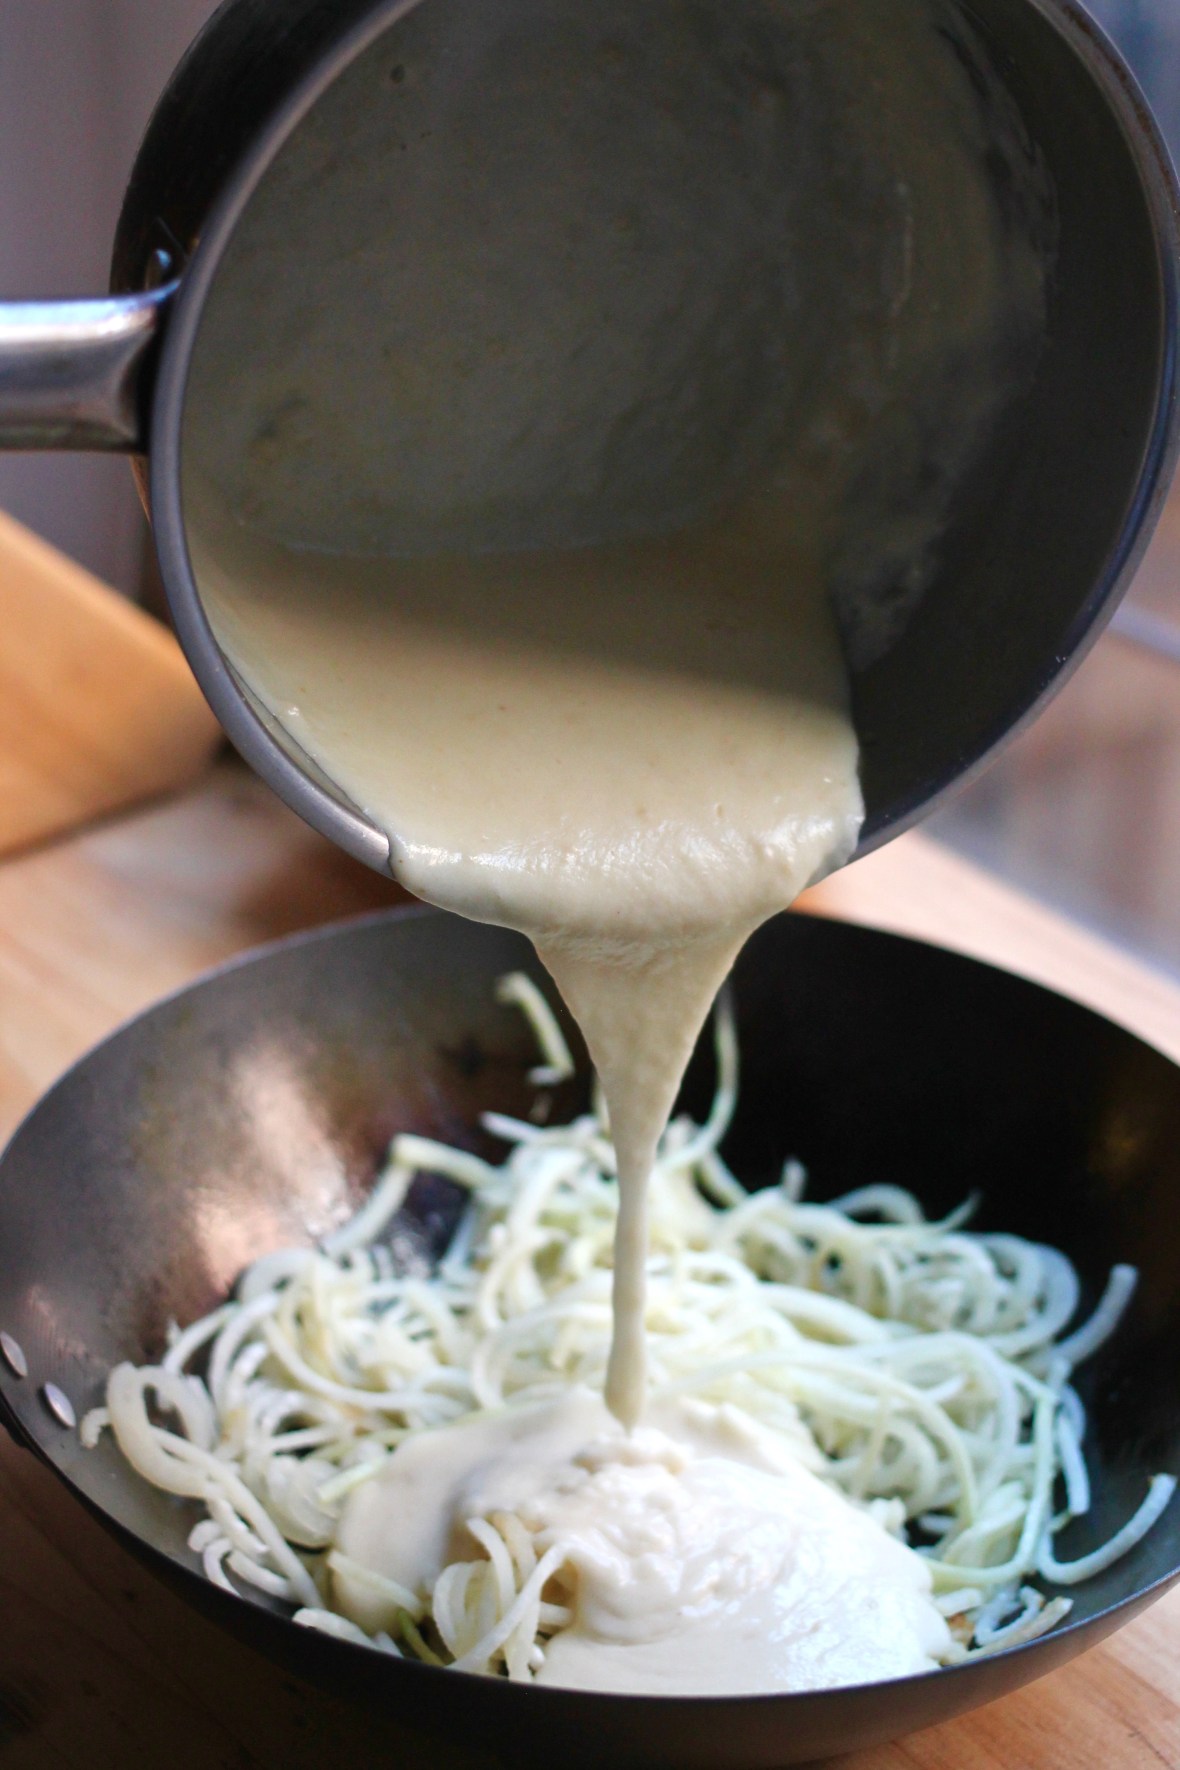
5.) Whisk in the milk mixture into the egg mixture, then pour the wet ingredients into the dry ingredients and mix until incorporated The dough should take on a very light springy texture. Do not overmix!

6.) Carefully spoon dough into a medium or large zip-top plastic bag or a pastry bag; if using a zip-top bag, carefully cut out one corner for piping out the dough. Carefully pipe the dough into the donut pan’s cavities, filling up to just below the top.

7.) Bake donuts for 10 to 12 minutes. Remove pan from oven and place on wire rack for 10 minutes. Remove donuts from pan and continue to cool on wire until room temperature.

8.) In a shallow bowl, mix together confectioner’s sugar, almond milk, and vanilla extract to create the glaze. Set a wire rack over a baking sheet or other easily washable surface; dipping donuts into glaze will cause a considerable amount of glaze runoff! Gently dip the tops of the donuts into the glaze, carefully turn over, and placed the unglazed side on the wire rack. Repeat until all donuts are glazed. Allow glaze to dry before eating…but if you’re really hungry, I will not judge you for eating one (or two) early! 😉

It is the The Battle of the Basic Autumn Foods: Pumpkin vs. Apple!

Pumpkin and pumpkin spice are both omnipresent in so many food items and non-food items, for better or for worst! (A friend of mine posted a photo of Pumpkin Spice-scented car detail spray on her Snapchat a few weeks ago, and it made me irrationally angry…) Of course, there is the most basic of pumpkin-associated culinary delights: The Pumpkin Spice Latte. As I don’t drink coffee (which, apparently, is a sin the eyes of some), I’ll let someone else gush about how much they love them.

Me? I’m an apple lover, through and through. I pick apples every fall in Connecticut or Massachusetts. I make apple pies, apple tarts, apple crisps, apple turnovers, apple sauce, you name it. Hell, even my dad has gotten into the habit of just making me an apple crisp for my birthday each October. I’ll take that over a cake any day! In my high school days, circa 1998 – 2002, I occasionally reeked of Country Apple body spray from Bath & Body Works, and I am TOTALLY okay with that.

Well, I’m a lover, not a fighter. I don’t like competition. Can’t we all just get along?!

pumpkin apple galette

I’m marrying apples and pumpkin together. Naysayers be damned! This is one delicious galette that you’ll want to eat from now through Thanksgiving. I guarantee it.

img_8031

And if you still hold a pumpkin vs. apple mentality, I’d like to think we can all agree on one thing: A buttery, flaky crust rocks.

img_8032

Pumpkin Apple Galette
(Adapted from Food52’s recipe for Autumn Apple & Pumpkin Galette)
(Serves 6)

Ingredients:

– 1 pre-made pie crust, rolled out
– 1 cup pumpkin, puréed
– 2 large tart baking apples, thinly sliced
– 2 tablespoons unsalted butter, melted and divided into two 1 tablespoon servings
– 1/3 cup firmly packed brown sugar
– 1 teaspoon cinnamon
– 1/2 teaspoon salt
– 1/4 teaspoon ground nutmeg
– 1/4 teaspoon ground ginger
– 1/4 teaspoon ground cloves
– 1 teaspoon vanilla

Before We Get Started…

– It is optional to peel the apples; since they are finely sliced, I find that leaving the peel on does not affect the recipe much. It’s up to you!

– I am a huge lover of pre-made pie crusts! It’s my Sandra Lee-esque semi-homemade hack. (Haaa.) However, if a pre-made pie crust is simply not your jam, substitute with your favorite pie crust recipe. Roll the crust to roughly 1/8″ thickness, uniformly, and to about 11″ – 12″ inches in diameter.

Directions:

1.) Preheat oven to 400°F. Lightly grease or place parchment on a baking sheet. Set aside.

2.) In a medium bowl, whisk together brown sugar, cinnamon, salt, nutmeg, ginger, cloves, and vanilla. In a separate bowl, mix pumpkin with 1 tablespoon of the melted butter and 1/4 cup of the brown sugar mixture. Set aside.

4.) Toss apple slices and additional 1 tablespoon of melted butter with the remaining brown sugar mixture. Set aside. (…I’ve said “set aside” for these past three directions, haven’t I? Ha!)

5.) Lay pie crust in the center of the baking sheet. In the center of the dough, evenly spread the pumpkin mixture, forming a 10″ circle. Arrange the apple slices in an overlapping single layer pattern. Fold in the outer edges of the dough, over the filling, forming a 2″ crust all the way around.

6.) Place in oven and bake for 45 to 50 minutes, or until crust is golden brown and the apples are tender.

Autumn just came out of nowhere, both chronologically and atmospherically. I swear, it was May just a minute ago, and social media reminded me that this past Thursday, at 10:21 a.m., was the autumnal equinox. Two, I was walking around the Feast of San Gennaro in Little Italy on Thursday night, sweating in a pair of shorts at 8 p.m., enjoying the extension of summer weather.

Less than 48 hours later, I was tromping to the Inwood Greenmarket in leggings and a sweatshirt, teeth chattering a bit as the temperature hovered around 56°F at 9 a.m.

I love autumn. It’s my favorite season. However, when the temps take a drip quick, it’s more than I can handle sometimes. Yeah. I’m a big baby for a day or two, guilty as charged. Ha!

However, I welcome the return of my two favorite sub-seasons of autumn: oven season and soup season! Turning the oven on will no longer cause my apartment to swell to temperatures close to 95°F! Also, I will soon start making soups en masse and freezing them in my freezer for future work lunches. I can only hope my roommates forgive me for the amount of space I’ll be usurping soon. (Then again, after more than a year of living with me, I am sure they are used to me annexing our fridge and freezer with many of my culinary creations.)

img_8513

Backtracking to my local greenmarket, the peaches and berries were sparser this morning while the fall squashes and gourds have been pushing their way through to the larger tables. Most of them were begging me to cook them. How could I deny their request to become my dinner?

butternut squash soup roasted kale

Needing some greens, I could not help but buy some crisp kale before I headed back home.

butternut squash soup roasted kale

And yes, I’ll be drinking some chardonnay along side it, thank you very much.

butternut squash soup roasted kale

Butternut Squash Soup with Roasted Kale
(Serves 4 – 6)

Ingredients:

Soup:

– 1 butternut squash, peeled and chopped, seeds removed or 20 ounces pre-cut butternut squash (I use Earthbound Farm Organic butternut squash)
– 1 medium yellow onion, chopped
– 1 carrot, chopped
– 2 tablespoons unsalted butter
– 1 medium apple, peeled and chopped (I used a Macintosh, but a tart green apple also works well within this recipe)
– 3 cups broth / stock of choice
– 1 cup water
– 1/4 cup chardonnay (optionalI used the 2014 Chardonnay by Louis Jadot)
– Dash of grated nutmeg
– Salt and pepper, to taste

Roasted Kale:

– 1/2 bunch lacinato kale, stems removed and leaves cleaned and roughly torn
– 3 tablespoons olive oil
– Salt, to taste

Before We Get Started:

– The amount of roasted kale made will likely eclipse the amount you’d put on top of your soup. Leftover kale not used for garnish can be stored in an airtight container. (It makes for a great snack!)

– Keep this recipe vegan-friendly by replacing butter with oil and using a vegetable-based broth or stock.

Directions:

1.) Preheat oven to 400°F. Lightly grease or place parchment paper on a large baking sheet. Set aside.

2.) In a large heavy pot, melt butter over medium-high heat. Add onion and carrot and sauté for 5 minutes. Add butternut squash, apple, broth, and water. Bring to boil, then reduce to a simmer. Cover pot and continue simmer for 30 minutes or until the vegetables and apples have softened; add chardonnay 20 minutes into simmering time.

3.) While the soup is simmering, prepare the kale: Add kale to a large bowl and drizzle with olive oil. Thoroughly massage kale with olive oil. Toss with salt, to taste. Spread leaves out on baking sheets evenly; leave enough space around the leaves for them to bake and dry out. Place in oven and bake for 10 – 15 minutes, or until dark green with roasted spots, but not completely brown! Remove from oven and allow to cool.

4.) Using an immersion blender, purée the soup inside of the pot; if you do not have an immersion blender, work in batches to purée the soup in a blender.

5.) Add salt and pepper to taste. Garnish with roasted kale.

– – – –

Editor’s Note: This recipe has been entered into Louis Jadot’s Modern Meals contest. I would like to thank Louis Jadot and Elayna from EVINS Communications for their generosity towards this post!

butternut squash soup roasted kale

My first introduction to kohlrabi was roughly three years ago in the kitchen of my oldest friend’s childhood home. Growing up on a well-known dairy farm in Northwestern Connecticut, I always knew I’d eat well when hanging out with the Freunds. This visit was no exception. While hanging out with my friend Amanda, her younger sister Rachel prepped vegetables and fruits to pass through their new juicer. On the other side of the juicer, other plant-based appitizers were prepped. Of course, with Freund’s Farm being a proud “Farm Family” associated with Cabot, you can guess what kind of cheese we had on the table. I saw Amanda and Rachel eating slices of cheddar with slices of kohlrabi, akin to cheese and crackers. I was certainly curious, so I gave it a shot. I fell in love! The juicy crunch and relatively bland flavor of the kolhrabi paired perfectly with the sharp cheddar.

IMG_7673

Yes, this following photo is from three years ago, when Seek Satiation was merely a Twitter feed (which still exists, of course). I used to post occasional food porn on there when I felt I was spamming my friends’ Facebook feeds with too much deliciousness. Please note the artsy use of a jar top and the lack of focus on the actual cheese and kohlrabi:

IMG_0903

Admittedly, I kind of forgot about kolhrabi until this summer, and I now can’t seem to escape it! One, it’s always at my local greenmarket in Inwood. Two, I am in love with the way that Ali from Insprialized has turned another vegetable into yet another type of pasta. Her recipe for Creamy Corn Kohlrabi Pasta, which is delicious by the way, was definitely the inspiration for how to cook these noodles; admittedly, her version is much healthier than what I’m about to offer. 😉

kohlrabi pasta cheese sauce

I still remember how well the cheddar melded with the vegetable, so I thought that making a “mac and cheese”, of sorts, would really work well.

IMG_7709

Lo and behold, it definitely did! (Well, if I can offer my own humble opinion, that is…)

Kohlrabi Pasta with Creamy Cheese Sauce

(Inspired by Inspiralized’s Recipe for Creamy Corn Kohlrabi Pasta)
(Makes 2 – 3 servings)

Ingredients:

– 2 medium kolhrabi or 1 large kohlrabi, peeled
– 1 tablespoon olive oil
– 1 tablespoon all-purpose flour
– 2 tablespoons butter
– 1/3 cup milk
– 4 ounces shredded sharp cheddar cheese or 3 ounces shredded sharp cheddar cheese with 1 ounce Parmesan cheese
– Salt & pepper, to taste
– A few generous shakes of garlic powder (optional)
– A few sprigs of parsley, washed and minced (optional, for garnish)

Before We Get Started…

– A spiralizer is required for this recipe to create the kohlrabi pasta.

– Though so many meals make good leftovers, this is a dish best consumed immediately. It doesn’t save well once the cheese sauce is added. Conversely, if you have leftover kohlrabi noodles, those save well in a plastic bag for about 3 – 4 days.

– It is fine if you use a more mild cheddar for this recipe, but the sharp cheddar really makes the flavor pop against the more cruciferous taste of the kohlrabi.

Directions:

1.) Set your spiralizer up with Blade C, or the blade with the thinnest output (for your average sprializer, this blade has smallest triangular openings). Spiralize kolhrabi(s). Trim / cut noodles.

2.) In a large skillet, heat olive oil over medium-high heat. Add kohlrabi and cook for approximately 5 minutes, tossing occasionally, until preferred doneness. Add salt & pepper to taste. Set aside.

3.) Place saucepan over medium heat; add butter and slowly melt. Once melted, add flour. Whisk for approximately 2 – 3 minutes to create a roux; once flour and butter are combined, add milk and whisk. Bring mixture to a slow boil. Once bubbles begin to break the surface, add cheese and stir quickly to incorporate. Remove cheese sauce from heat. Add garlic powder, if desired.

4.) Pour cheese sauce over kohlrabi and toss until coated. Top with parsley, if desired. Divide and serve immediately.