
The clamour for a revival of my Pumpkin Ricotta Gnocchi recipe came about after I put a throwback photo of it on my Instagram a few weeks back. Who am I to disappoint my fans?
File this Pumpkin Ricotta Gnocchi recipe under “Canned Pumpkin Recipes”, “Recipes with Canned Pumpkin”, or “Delicious Recipes To Make This Fall” . (SEO, do your magic. Ha!)
Originally posted on this site on October 23rd, 2017, this gal is almost three and wanted to come out to play again.
I first tested and made this at my parents’ house in Connecticut that October, as their quiet and roommate-less home makes recipe development much more pleasant and, frankly, easy. Plus, my parents are always willing participants to be taste testers. If that doesn’t exemplify “win-win”, I’m not sure what does. I find gnocchi fun to make because it’s very hands on and I find playing with the dough to be satisfying. (Is there a tactile category for ASMR? Asking for a friend…) This version creates a more freestyle dumpling as compared to a traditional rolled and grooved potato-based gnocchi. Regardless, it is absolutely delicious, especially when tossed lightly with some melted butter and sage. (Keep it simple, here.)
I present to you my original 2017 photos, which, in my option, still past muster when compared to my current 2020 photography standards. 😂

Pumpkin Ricotta Gnocchi
(Adapted from Chowhound’s recipe for Pumpkin Gnocchi with Crème Fraîche–Sage Sauce)
Ingredients:
- 1 cup whole-milk ricotta
- 1 cup canned pumpkin purée (Reminder: do not use canned pumpkin pix mix!)
- 2 large egg yolks
- 2 teaspoons salt
- 1 tablespoon packed dark brown sugar
- 1/4 teaspoon ground nutmeg
- 1/4 teaspoon ground sage
- 1 & 1/2 cups all-purpose flour
Optional, Yet Suggested – Simple Sage Butter Sauce:
- 3 tablespoons melted butter (I opt for salted, but feel free to use unsalted)
- 2 fresh sage leaves, minced
Before We Get Started…
- As you can see, this recipe originated from the linked Chowhound recipe, which I used as a basis for this gnocchi. Honestly, I have not given their Crème Fraîche–Sage Sauce a try, but I don’t doubt it’d be fantastic! I was opting to focus more on the gnocchi while making this recipe originally, not its toppings.
Directions:
1.) Place parchment paper onto a large rimmed baking sheet and flour lightly. Set aside.
1.) Combine ricotta, pumpkin, egg yolks, salt, brown sugar, nutmeg, and ground sage; stir until smooth. Slowly add the flour – 1/4 cup at a time – and mix until the dough is combined; it should be a bit tacky and soft, and do not mix it beyond that point.
2.) Place flour on a cleaned work surface (countertop, cutting board, butcher’s block, et al). Taking a rough handful of dough, carefully roll it on the floured surface into an even rope, roughly 3/4″ in diameter. Cut the rope into 3/4″ – 1″ pieces. Place the gnocchi on the prepared baking sheet lined with floured parchment paper. Repeat with remaining dough until all gnocchi has been made.
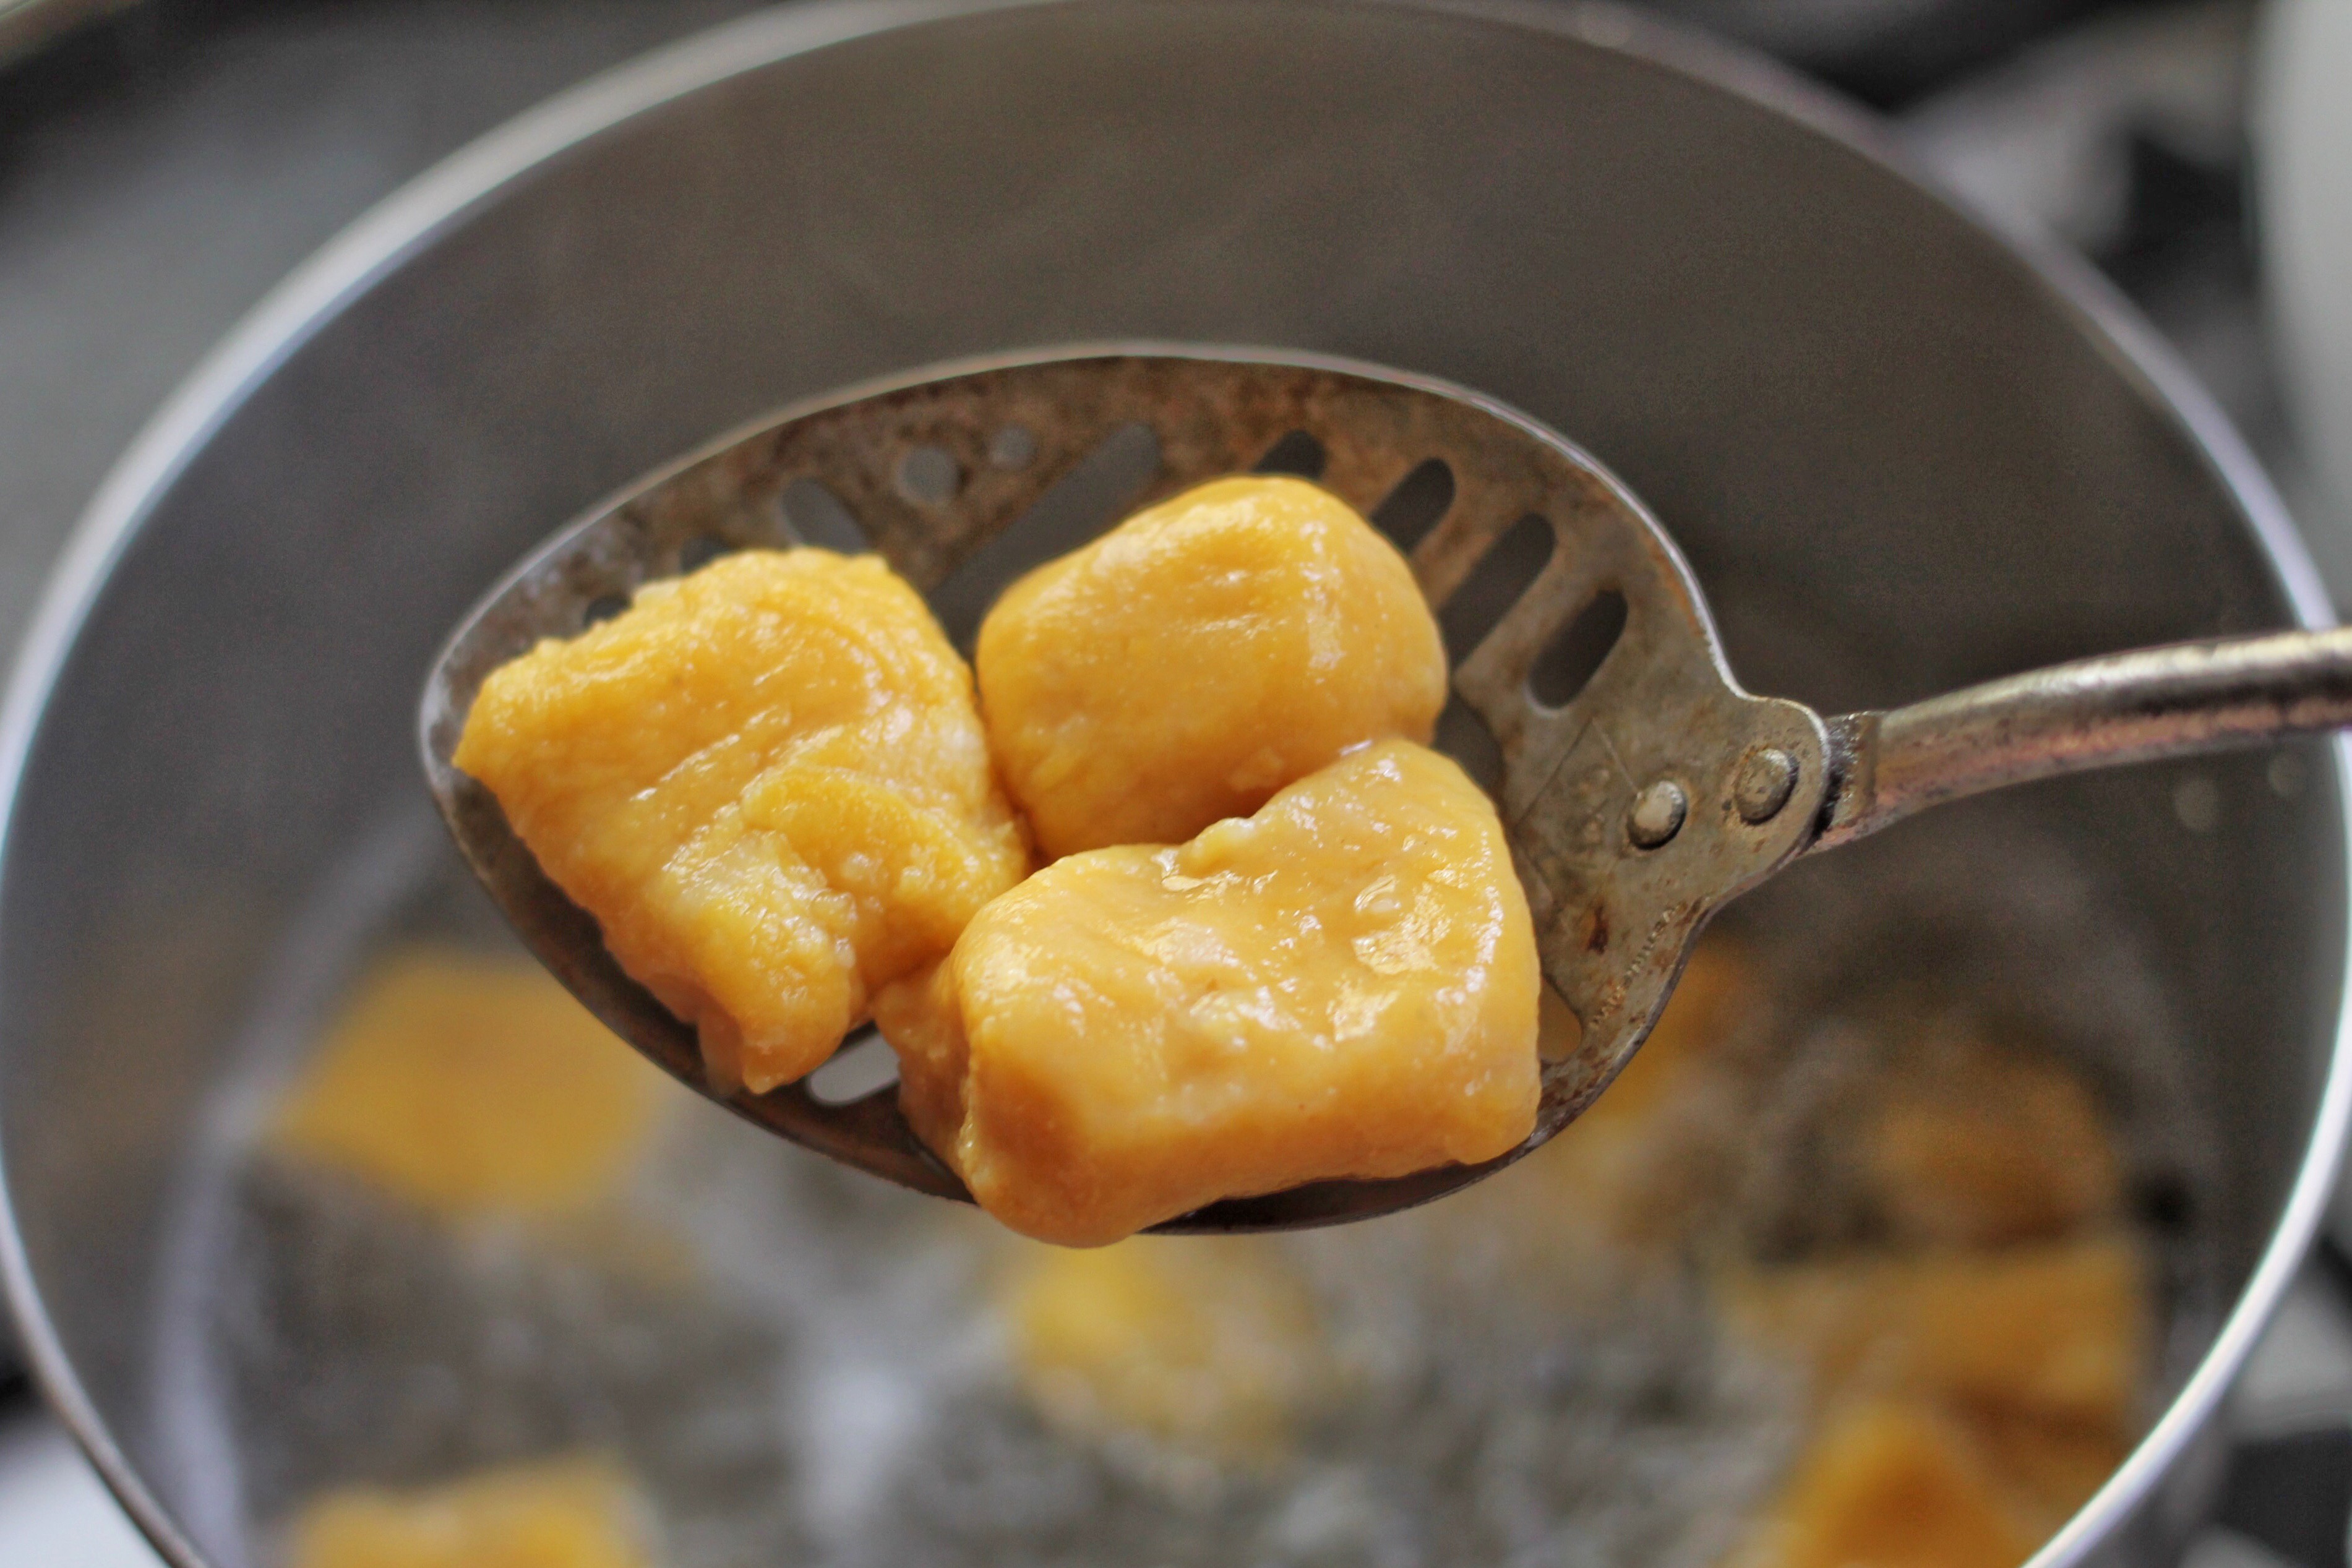
4.) Bring a large pot of lightly salted water to a boil. Line a second baking sheet with parchment paper (do not flour!) and set aside.
5.) Once water has come to a boil, carefully add gnocchi to the boiling water in batches, cooking at 3 – 4 minutes per batch. Gnocchi will float to surface of the water when finished. Remove with a slotted spoon, gently shake off any excess water, and transfer to the second prepared baking sheet. Repeat until all gnocchi is cooked.
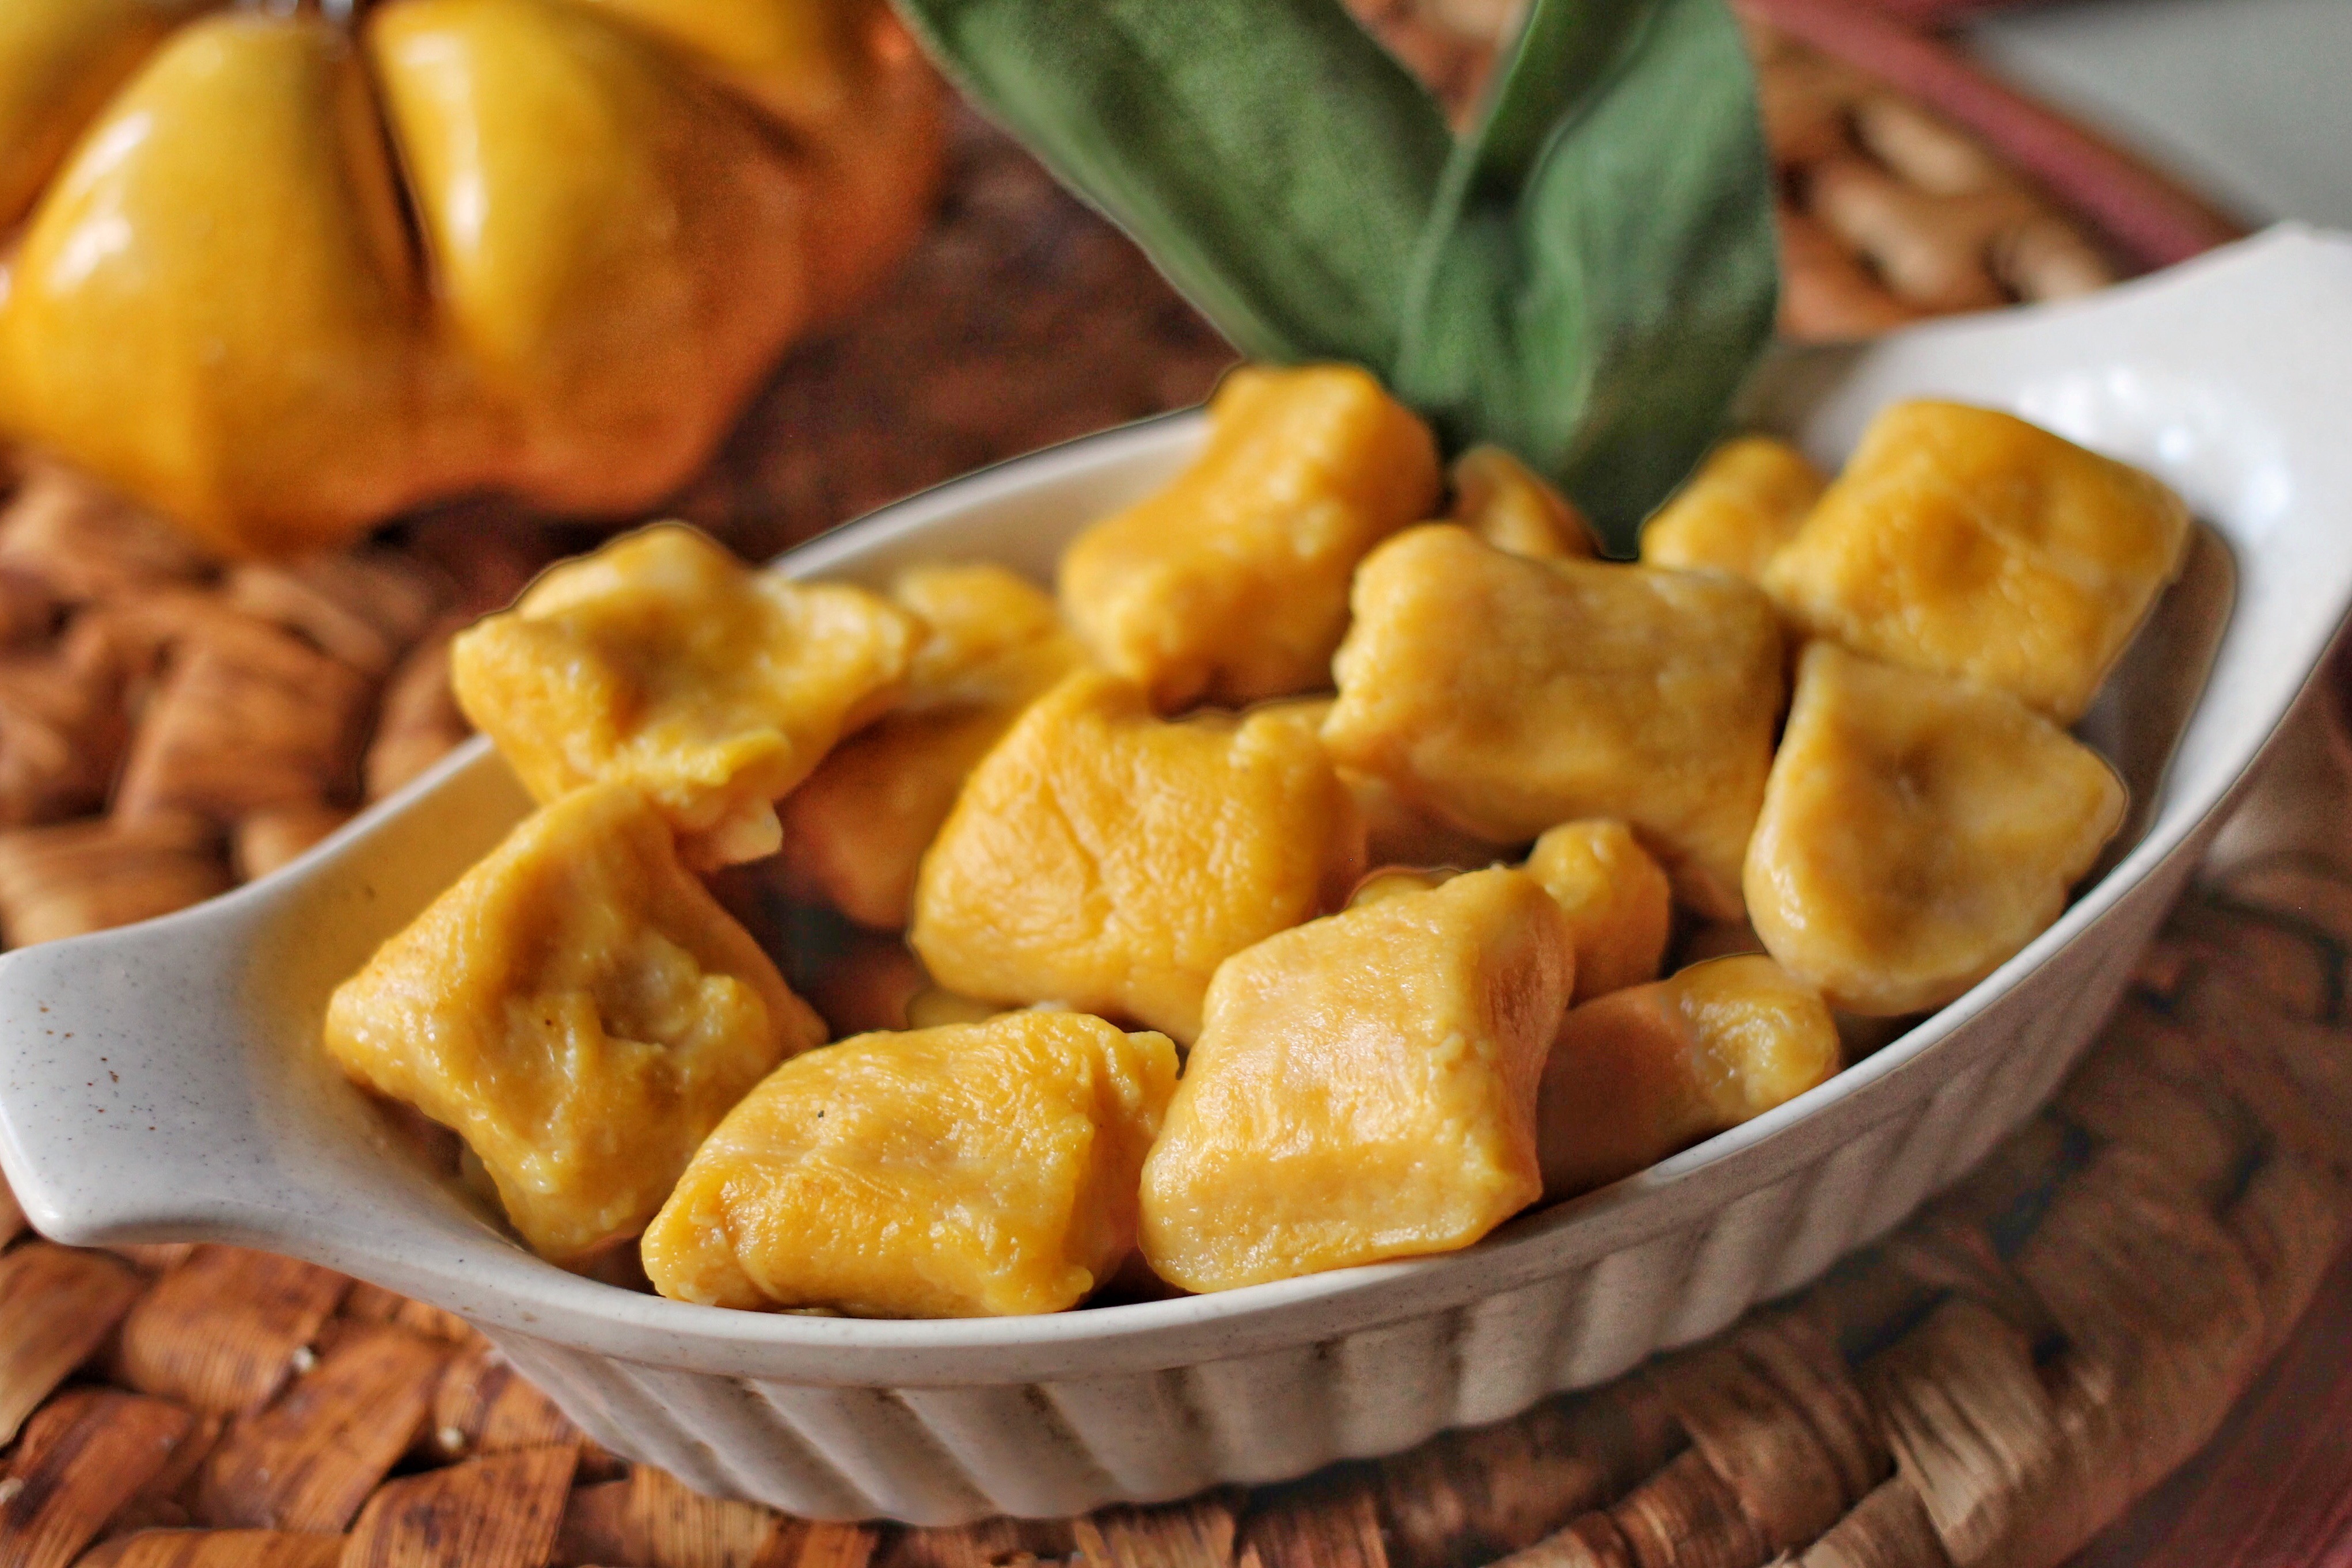
6.) Serve immediately with preferred sauces or toppings, or allow gnocchi to cool before freezing.
6a.) I suggested tossing gnocchi in a butter sage sauce, perfect for a 2 cups of gnocchi: Melt butter in a large sauté pan over medium heat until melted, then adding in minced fresh sage. Turn heat down to medium-low and allow sage to cook for 3 minutes. Add gnocchi, toss in butter sage sauce, and allow to cook for another 2 -3 minutes. Serve immediately.
6b.) To freeze gnocchi, place sheet pan with cooled gnocchi into freezer for three hours; remove from parchment and place into resealable freezer bags for up to six weeks. Frozen gnocchi can be cooked again at a later time by cooking as noted in Step 5.
