Salad restaurant chains have become big business as of late. When I first moved to NYC in mid-2009, I was kind of…well…confused by the concept of delis and sandwich shops crafting made to order salads. Perhaps it was my own introversion that caused me to not want to take a container of greens to a guy behind a salad bar and tell him what vegetables I wanted in it. Couldn’t I go to a salad bar myself and craft my own? I was capable!

In 2014, a Just Salad popped up a few blocks away from my Upper East Side office, and it was somewhat of a godsend. Still, my first trip there was dicey, because I sucked up my introversion, got a made – to – order salad…and was $15 dollars poorer by the end. From that point on, I stuck to salads that were on the menu and dealt with the loud cutting of vegetables and shouts of salad makers asking how much dressing I wanted. Though it’s certainly convenient on some work days, I’m definitely a fair weather friend. Works in a pinch, but I’ve never been blown away by the quality or price.

About a week ago, a coveted Sweetgreen opened adjacent to the Columbia campus. Boasting organic and local salad fixings coupled with a popularity swell among many of my fellow social media food friends, I could not resist the call! I stood in line for a good 15 minutes among chattering Columbia students. How I survived that ordeal is beyond me. (Were any conversation I had at the age of 20 as vacant-sounding as the ones I had to endure overhearing? GOD, I hope not…) Still, compared to Just Salad, I’ll take their higher price point for what, in my opinion, is a much superior salad. It was crisp, fresh, and filling.

IMG_5018

That being said, I am not a person that can afford to spend a lot of money on a salad. $10 – $13 a pop is a dent in my already hemorrhaging wallet. I’m a person that easily can go to my local Fine Fare, grab a couple of things, and spend $5 on enough ingredients to make many salads. Case in point:

Kale: $2.99 a bunch
Macintosh Apple: 39 cents
Anjou Pear: 45 cents
Cabot Extra Sharp Cheddar Cheese: $3.99
Walnuts: $6.99 for a one pound bag

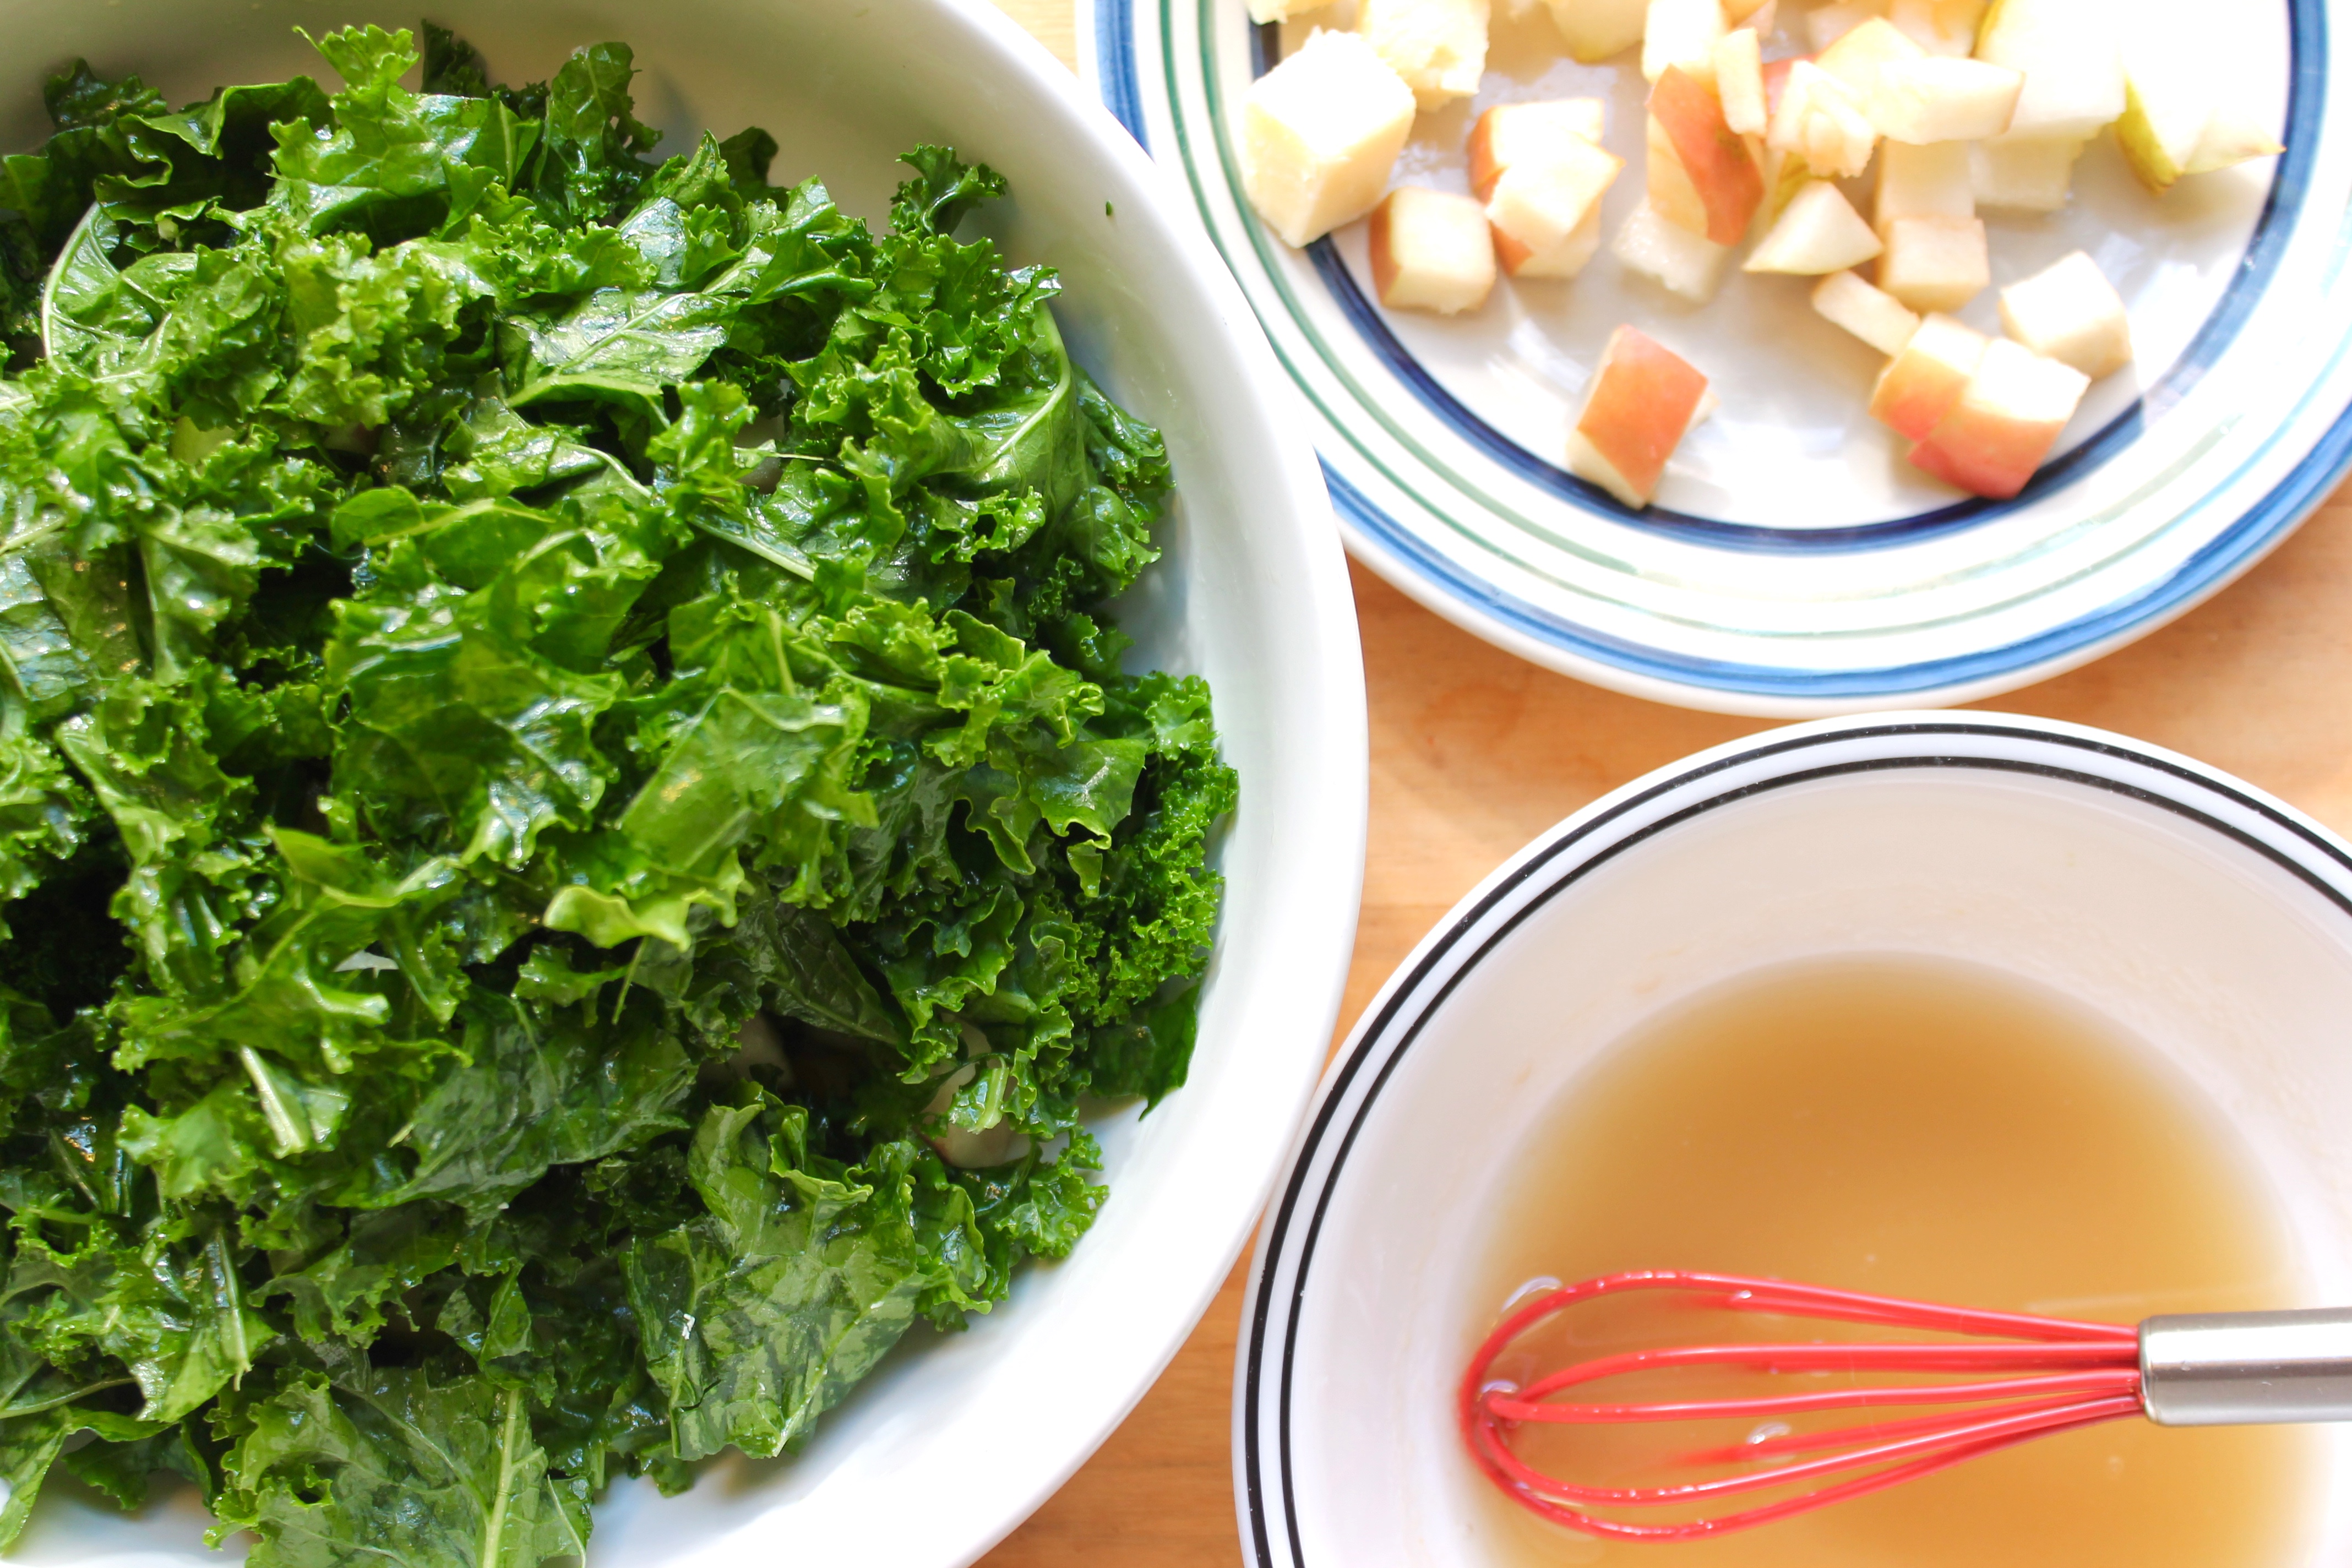
I used a 1/3 of the kale, half of the apple, half of the pear, two ounces of the cheese, and an ounce of walnuts. I made the salad (sans dressing) comparable to my Sweetgreen’s salad for roughly $2.87.

IMG_5026

Seriously. If you can, make your own damn salads, people. 😉

kale salad

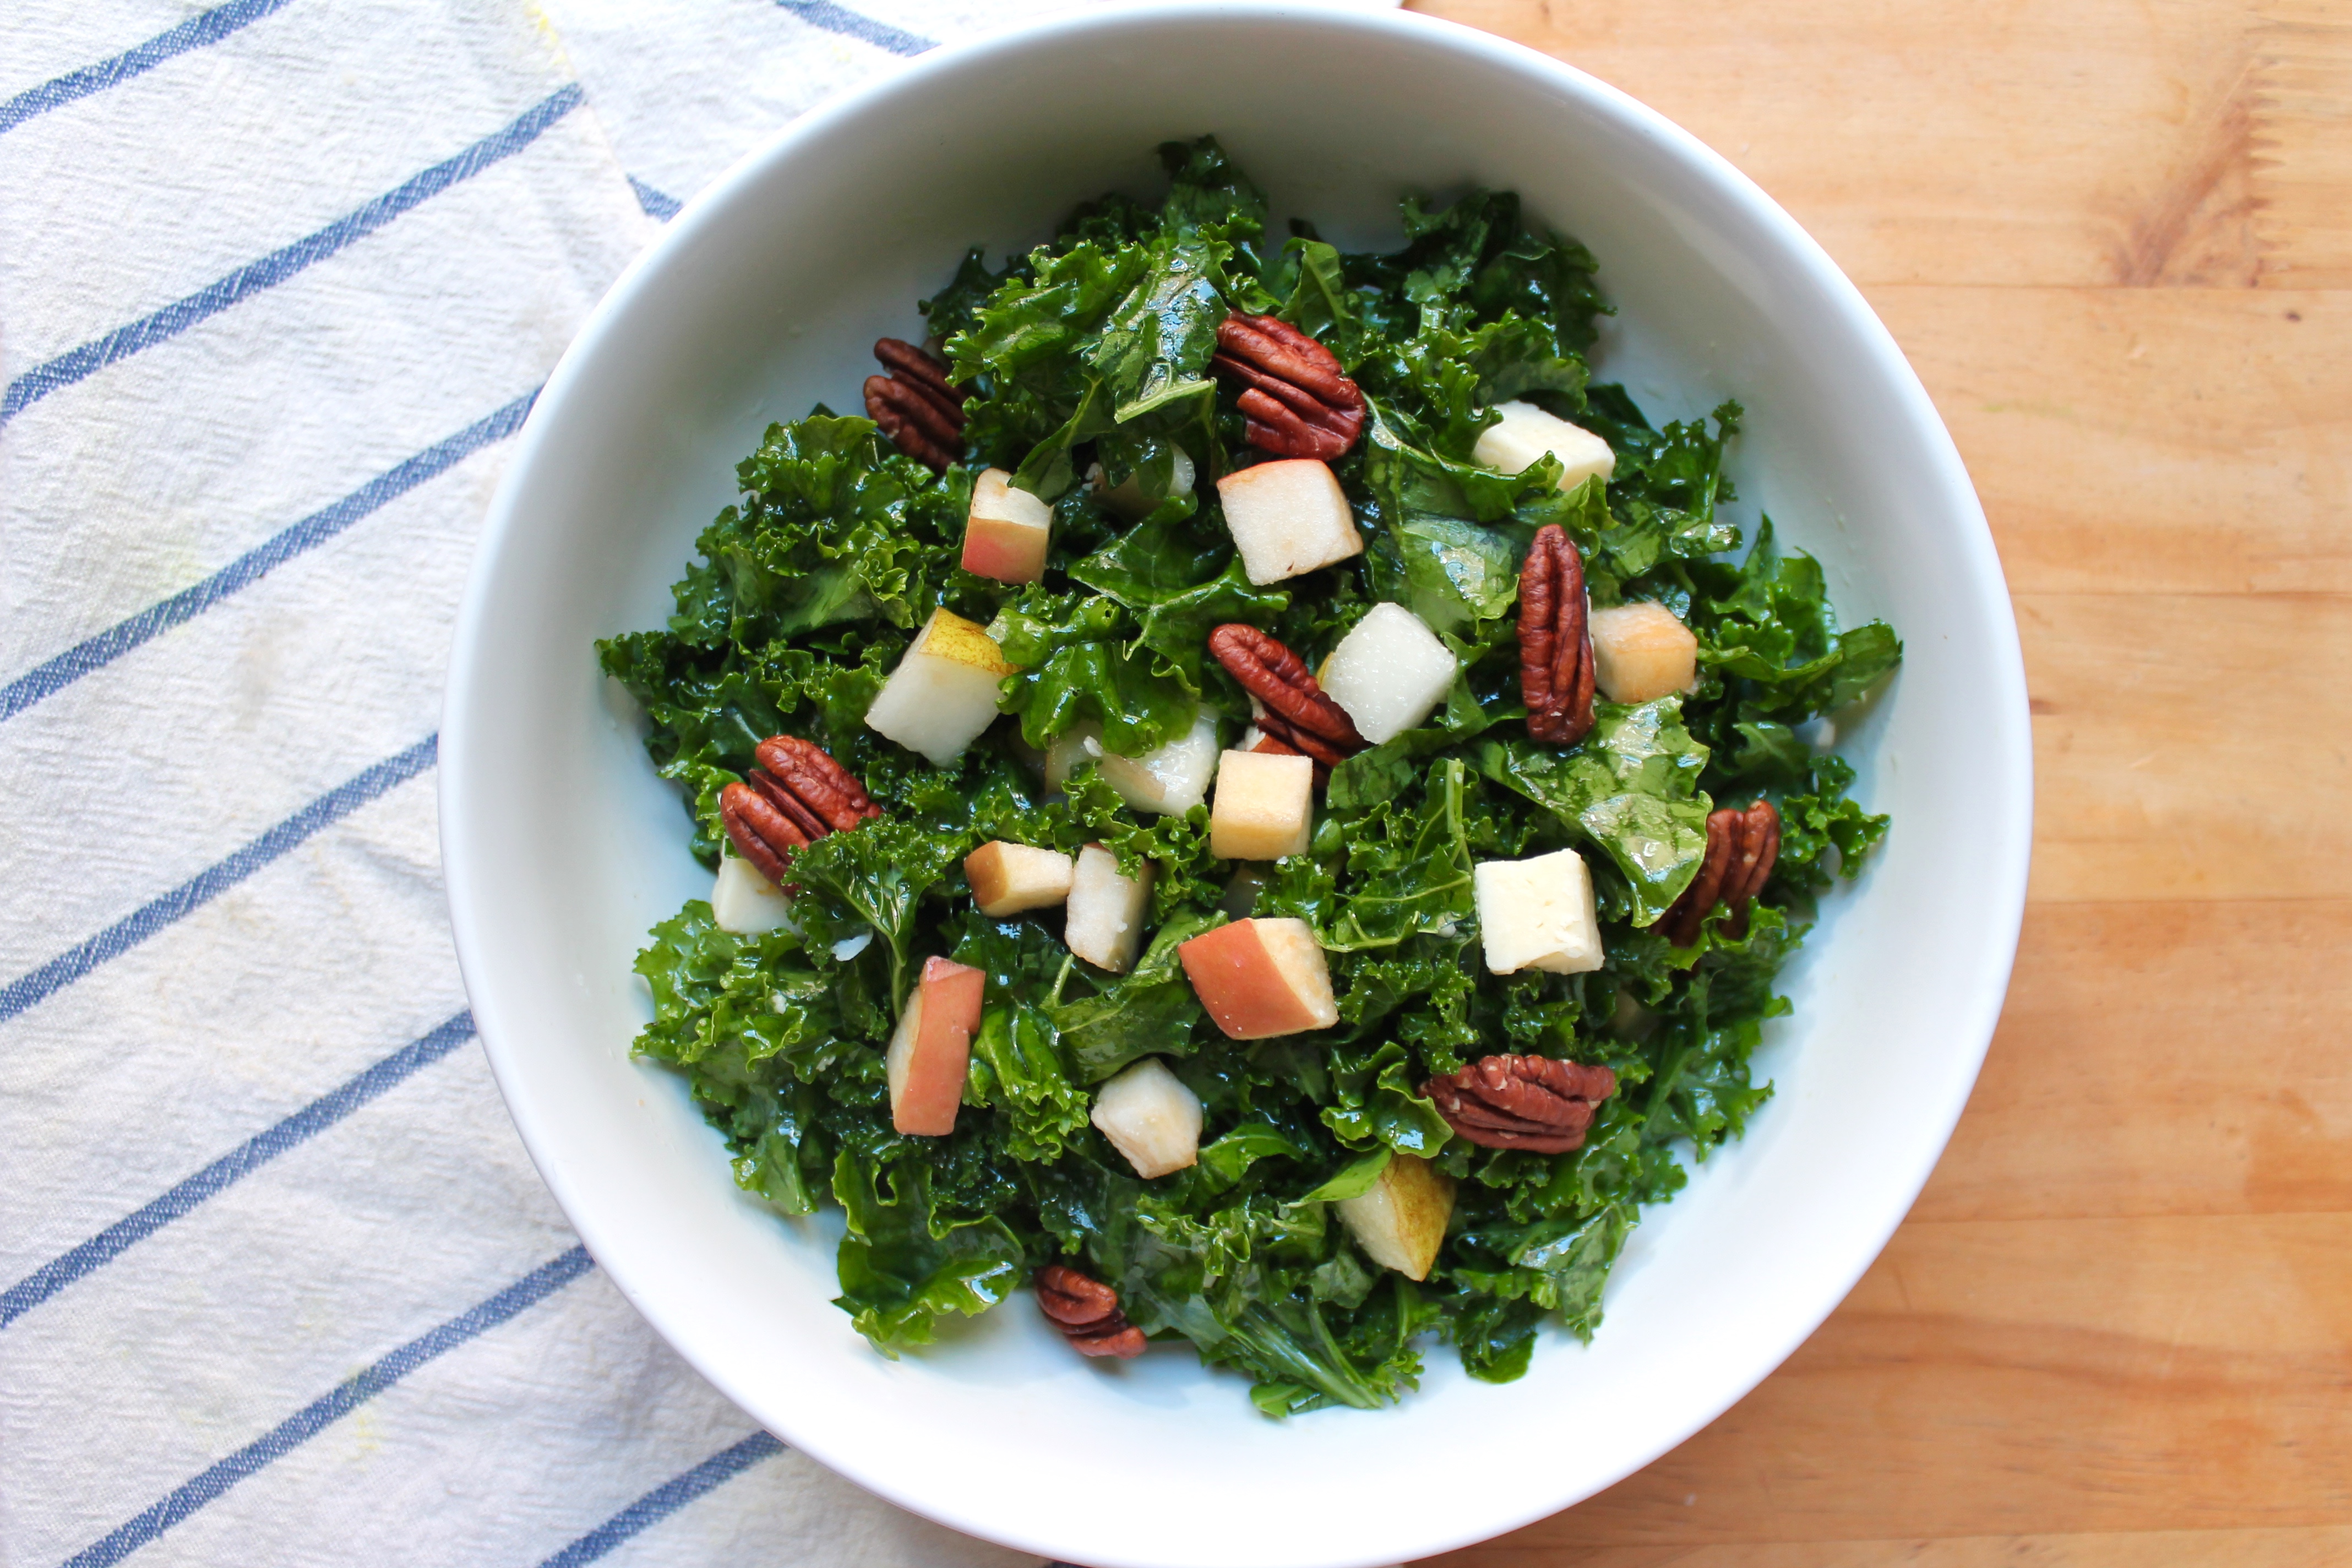
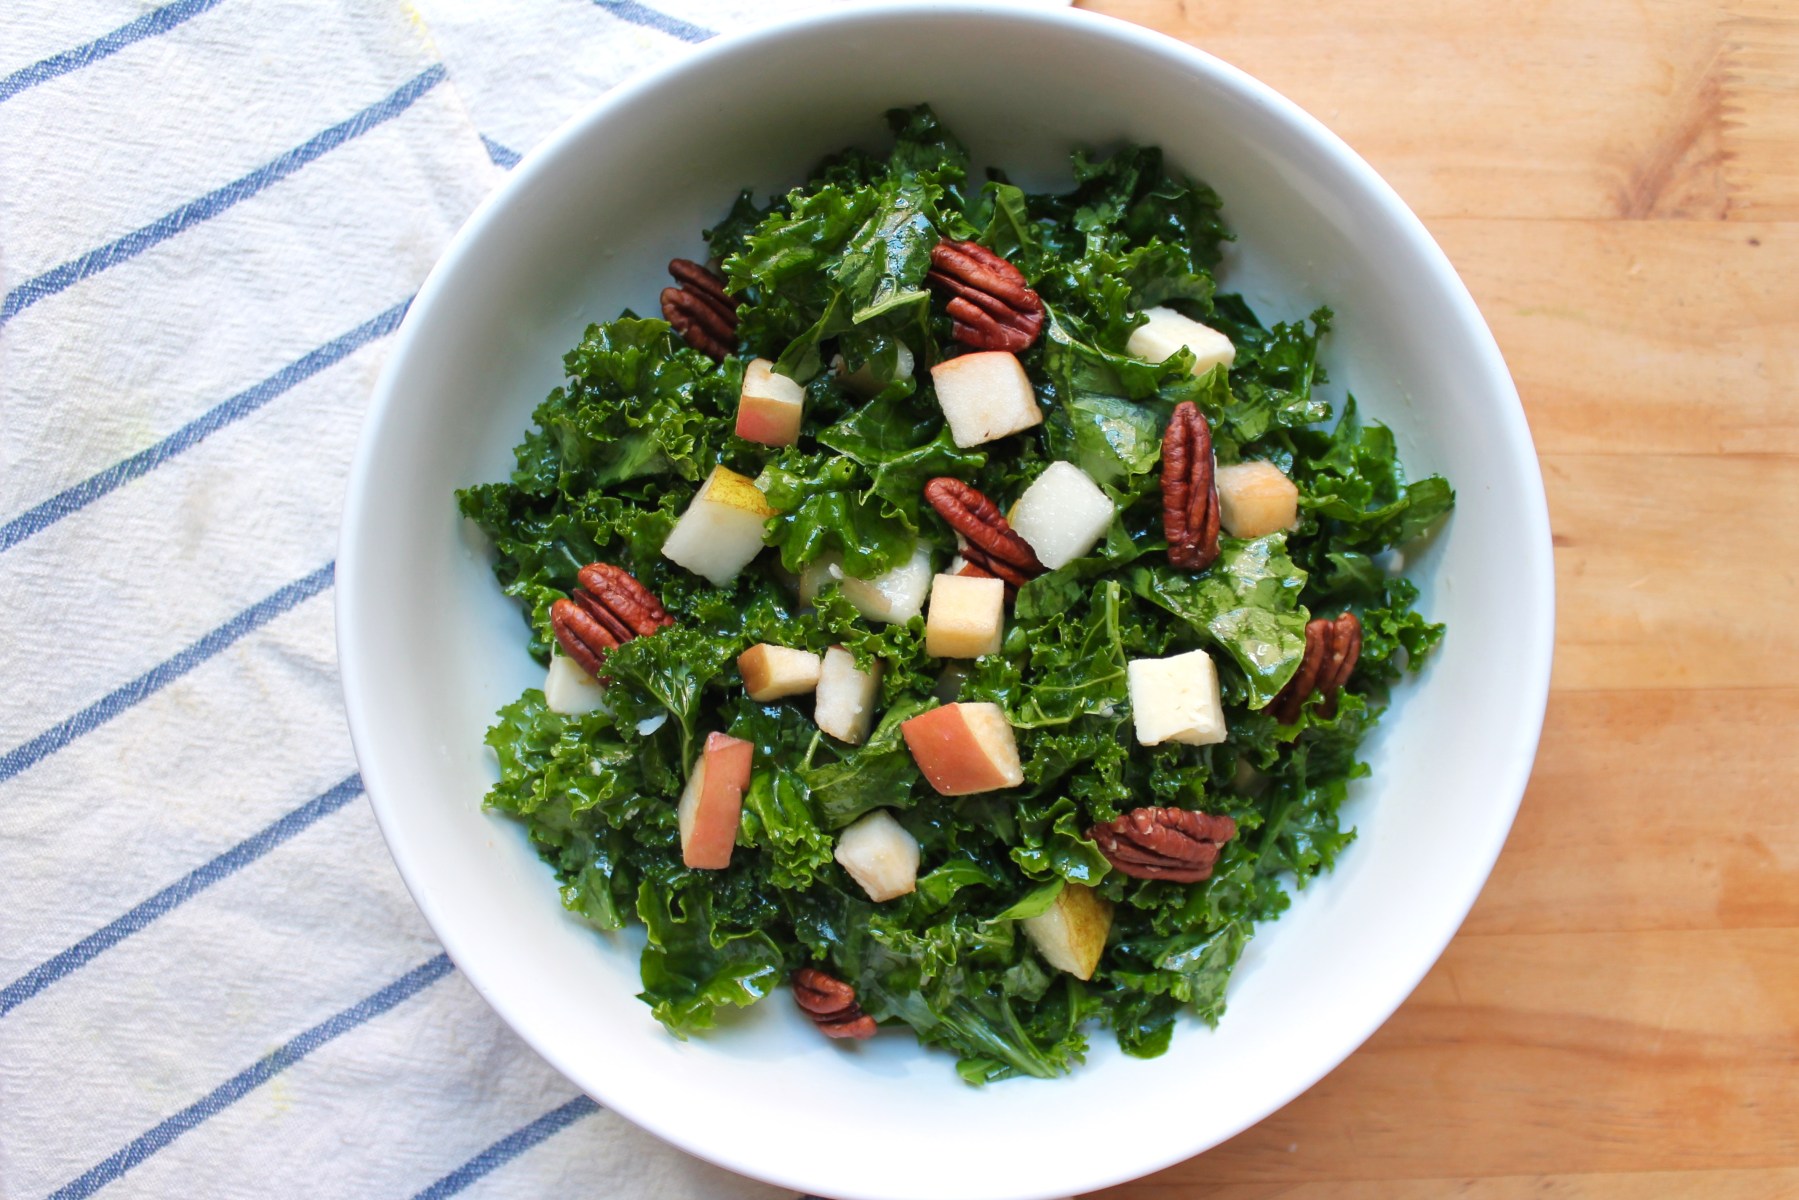
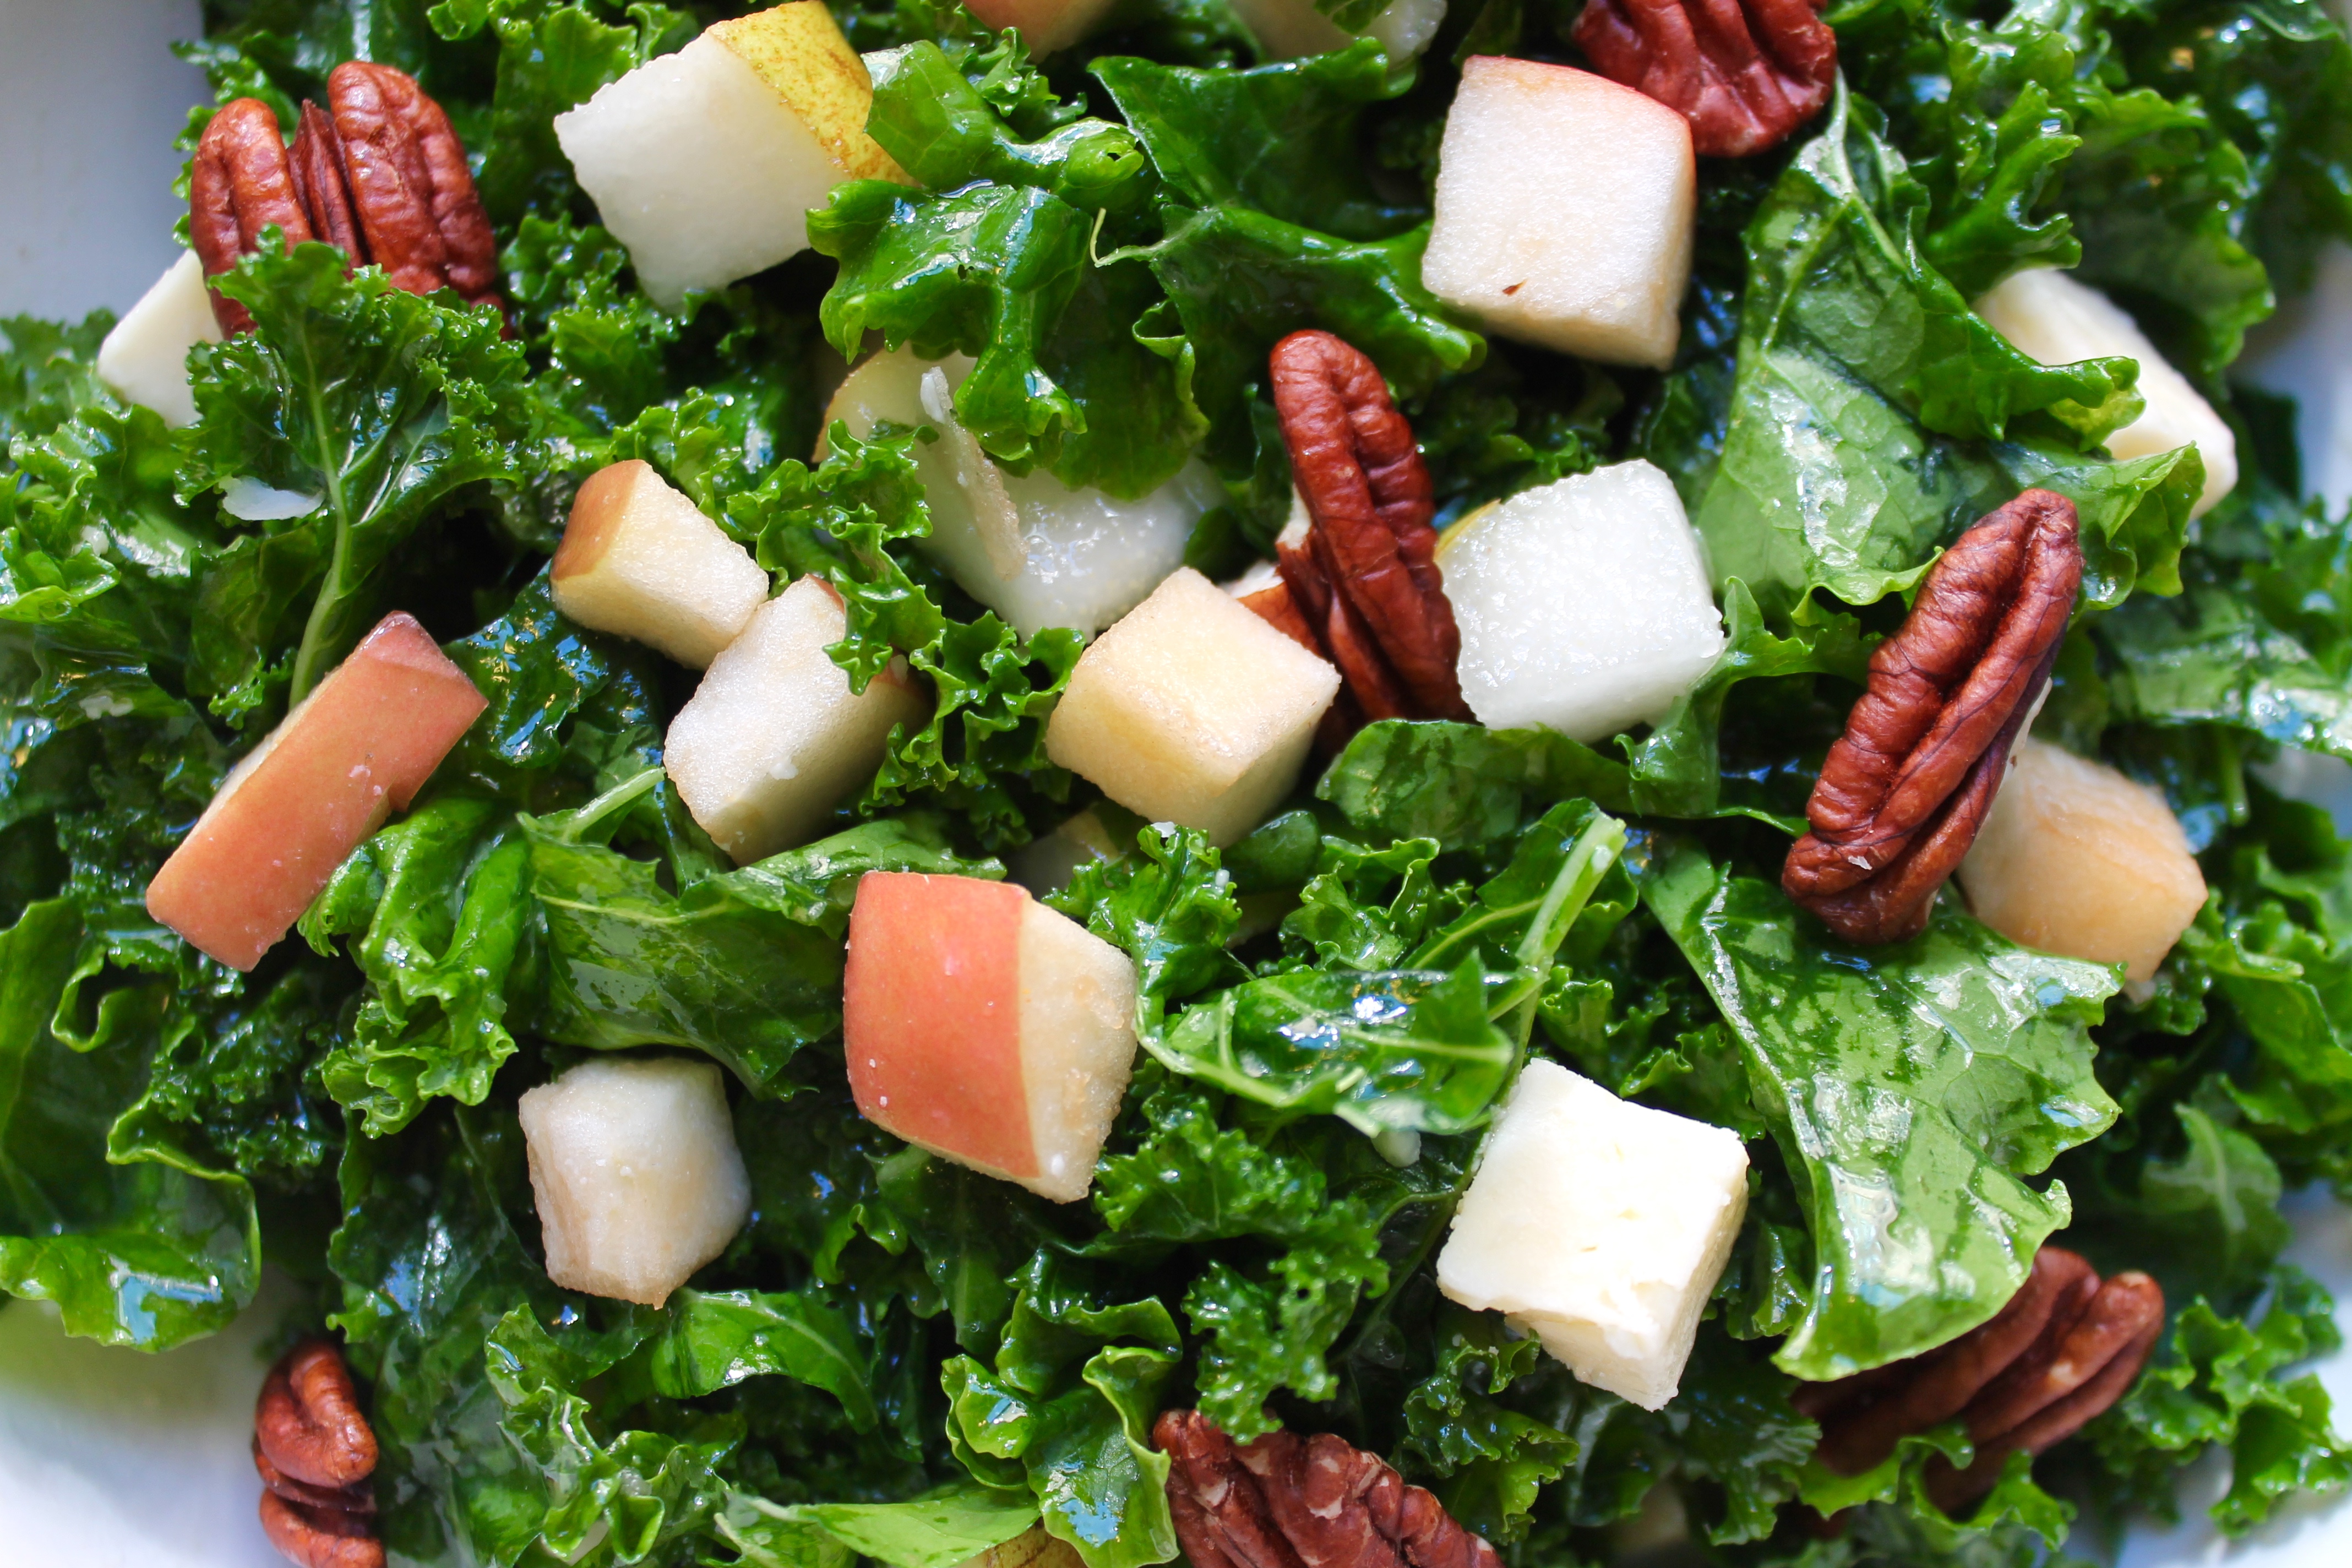
Kale Salad with Apples, Pears, & Cheddar
(Serves 1 as a meal salad, Serves Two as a side salad)

Ingredients:

Salad:
– 1/3 of a average-sized bunch of kale, rinsed, ribs removed, and torn
– 1/2 large apple, rinsed and diced, skin on
– 1/2 large pear, rinsed and diced, skin on
– 2 ounces cheddar cheese, diced
– 1 ounce walnuts
– 1 tablespoon olive oil

Apple Cider Vinaigrette:
-1/4 cup olive oil
-1/3 apple cider vinegar
-A few shakes of garlic powder, to taste
-A few dashes of salt, to taste

Directions:

1.) In a large bowl, add kale and olive oil. Massage olive oil into kale for approximately 30 – 60 seconds or until leaves are evenly coated in oil.

2.) Toss fruits, cheese, and walnuts into kale.

3.) Toss with Apple Cider Vinaigrette or vinaigrette of choice.

4.) Serve immediately; if storing, place in airtight container. This salad will stay fresh in fridge for up to three days.

Ramen. It’s a word that we all know too well.

In my youth, from roughly 3rd grade all the way up through college, I was like any other kid I knew. Namely, I devoured ramen noodles like it was my job. Of course, in my formative years, I never knew how horrible it was for you. I just knew that little flavor packet full of MSG and approximately 2,800 milligrams of sodium satisfied something deep inside of me. Like any other American college kid, Top Ramen Chicken Ramen was a staple in my dorm room’s food shelf for four straight years, usually stacked by the dozen. It was great on those nights I didn’t feel like walking five minutes to the Carpe Diem Cafe to eat my sixth consecutive Chicken Caeser Wrap. (Bay Path Class of 2006, you know what’s up!)

IMG_4932

Though I have evolved to champagne tastes, I still have, in essence, a hot dog budget at times. Prime example: Two months ago, I dropped $1,600 on first month’s rent and security for my new apartment lease. (Which, luckily, is still pretty damn cheap by Manhattan standards! [Humble brag.]) And, of course, Navient loves to remind me of the $701 I owe them each month. To help heal the still-fresh wound in my bank account, in the interim, I have been eating out less and cooking more.

IMG_4937

A few months ago, I had been scrolling through one food web site to another with no real agenda. Something led me to discover a recipe on Spoon University for Cacio e Pepe with ramen noodles. I looked at the recipe for a few minutes with equal parts skepitism and awe. Then I decided to try it. Damn. David Chang’s onto something! I’m by no means calling this any sort of classic Italian masterpiece. Still, taste-wise, it’s at good as any Cacio e Pepe I had consumed at your average Italian restaurant. Danke Schön, Mr. Momofuku!

IMG_4947

Like I said: Champagne tastes on a hot dog budget. This dish has got it covered.

Don’t expect any nutriative value to this meal, either. Embrace it.

Cacio e Pepe Ramen
(Adapted from David Chang’s Instant Ramen Cacio e Pepe)
(Serves One)

Ingredients:
– 1 package instant ramen noodles, seasoning packet reserved
– 1 & 1/2 cups water
– 1 tablespoon olive oil
– 2 tablespoons butter
– 1 & 1/4 cups grated parmesean, percorino, and / or romano cheeses
– A few hard cracks of fresh black pepper

Before We Get Started…

– As mentioned, do not use the seasoning packet that comes with the ramen noodles. Discard or save for a later use. Personally, I’d discard that little MSG bomb.

– Have the ramen noodle package opened and ready to go, because as soon as you add the cheese, the ramen needs to pop in the pot moments later.

– I enjoy straight romano, but I’ve made it with combinations of the above cheeses, and all have turned out lovely. Experiment!

– This needs to be eaten immediately. After about five minutes, it begins to congeal. Just…don’t choke! Please and thank you in advance.

Directions:

1.) Add water, olive oil, black pepper, and butter to saucepan. Turn heat to medium-high and bring to a slow boil. Allow the butter to melted completely.

2.) Add cheese to pot and stir quickly. Immediately add ramen noodles and continue to stir for about 3 to 4 minutes or until noodles are separated, soft, and coated in the cacio e pepe mixture.

3.) Transfer to bowl, top with more pepper, and consume immediately!

IMG_4954

Zucchinis and summer go together quite nicely. Wouldn’t you agree? Rhinoviruses and summer, however, do not mesh nearly as well. So there I was yesterday, sitting in my apartment with a cough and fever of nearly 102°F, skipping work, nursing my second bad cold in a month’s time, binge-watching “Narcos” and querying what to do with the five zucchinis staring at me from the top shelf of my fridge.

Zucchini saves me on a constant basis. Virtually any time I go to the grocery store to stock up on produce or grab something quick to make for dinner, I always grab one or two. At any farmer’s market, I always buy more than I can handle. (Sad truth: A few have ended up in the compost heap because my eyes were bigger than, well, my time to make a meal out of them. Ha!)

IMG_4698

Normally, I dice it, sauté it, or spiralize it. It never occurred to me that I could spread on some toast. The fine folks at The Kitchn showed me the way, and soon enough, I had a wonderful lunch of a summery vegetable spread on toast. It makes for a perfect light end of summer meal, a perfect way to use up your last great batch of zucchinis…and a perfect sick food, to be frank.

Here’s hoping I’ll be in better health the next time I crank a batch of this out!

IMG_4716

Zucchini Butter
(Adapted from The Kitchn’s Zucchini Butter)

Ingredients:

– 3 small zucchinis, shredded
– 2 cloves of garlic, minced
– 1/4 cup olive oil + 1 tablespoon butter
– A few shakes of salt
– Dash of chili powder (optional)

Before We Get Started…

– Butter can easily be omitted to make this recipe vegan-friendly.

Directions:

1.) Shred zucchini, add salt, and place into a colander to drain. You can squeeze the zucchini slightly to expedite the process.

2.) In a large skillet, add olive oil and butter and cook over medium-high heat until butter is melted. Add garlic and saute for one minute.

3.) Add zucchini; cook and stir over medium heat for 20 minutes, or until zucchini becomes soft and spreadable. Add optional dash of chili powder here.

4.) If storing, let cool to room temperature before placing in container and refrigerating.

Hey, y’all. It’s been a minute.

Let’s make some food, shall we?

– – – –

I have a love / hate relationship with peanut butter. As its own entity, give me a spoon and wish me luck. I can take on a jar of Jif as hard as my ex-roommate’s dog Ellie. On a sandwich with some jam or bananas, its absolutely delightful! Oh, and don’t get me started on Take 5 Bars. Just don’t. However, a peanut butter cookie? I’ll pass. In addition, many of my friends and co-workers have threatened to cut ties with me due to my utter hatred of Reese’s Peanut Butter Cups. (That being said, I hope I don’t lose blog followers due to that proclamation.)

I have a love / hate relationship with overnight oats. Incredibly versatile, its variations are seemingly limitless. It really is one of the best breakfasts to take to work, and it’s better than a bowl of cereal on a lazy weekend morning. I’ve had my hits and misses in the creation process. First and foremost, I love a creamy bowl of them. In my earlier days of overnight oat recipe experimentation, I started out in the quasi-vegetarian realm and added coconut milk and / or almond milk to my oats, along with a big glob of Greek yogurt. I always ended up with something quite pasty. I switched it up. I have found that any sort of nut butter plus whole cow’s milk seems to contribute to that creamy mouth feel I enjoy. (Sorry, vegans.) A few months back, I started adding a heaping tablespoon of peanut butter to my bowls more regularly, and BAM. MAGIC.

I was thinking of something new to add to my oats one day, and jam popped into my head. Jam is a condiment I’ve grown to enjoy over the years. It used to simply gross me out as a child, in terms of texture. (Let us all recall earlier blog entries in which my innumerable childhood food quirks came to light…) However, as I’ve gotten older, I learned to appreciate it due to certain friends and their love of canning in their Brooklyn kitchens. (We’ve all have that one friend.) Jam making? Not quite my jam. I’d rather buy. However, at my local grocery store, the choices are limited: Corn syrup and preservative-laden Smuckers or a $10 jar of Sarabeth’s.

Life’s hard.

Still, I get what I want. (Hey, fresh strawberry jam from my local farmer’s market!)

Peanut butter + overnight oats + jam = a love / love relationship.

overnight oats

PB&J Overnight Oats
(Serves 1)

Ingredients:

-1 cup old-fashioned oats, uncooked
-1 cup milk of choice (dairy or non-dairy)
-1 teaspoon chia seeds
-1 – 2 tablespoons peanut butter
-A few generous dashes of cinnamon
-1 Tablespoon maple syrup or desired sweetener (optional)
– Jam of choice to top off your oats!

Before We Get Started…

– The peanut butter will likely not fully emulsify with the milk through stirring. I do not find this to be an issue, only because I enjoy taking a bite of these oats and finding an occasional “vein” of peanut butter. Think of it like finding a nice ribbon of caramel or marshmallow in a pint of Ben & Jerry’s. However, if you’d like your peanut butter mixed in completely with the milk, combine all of the ingredients from Step #1 in a blender until desired consistency.

Directions:

1.) In a medium-size bowl, stir or whisk peanut butter, milk, chia seeds, cinnamon, and optional sweetener until combined. (See “Before We Get Started…” note.)

2.) Stir oats into milk mixture and combine until oats are thoroughly soaked. There will be a little bit more milk than oats at this point; the oats will evnetually absorb the remaining liquid.

3.) Put in container and leave in refrigerator for at least six hours.

4.) Before serving, top with desired jam.